A look at the Restoration of my own DBS V8.I spent 3 years looking for a DBSV8 looking from Scotland to Kent. After viewing 8 different cars I finally found the right car although it took a further 12 months to actually own it. But that's another story.
This is the day my DBS V8 arrived.
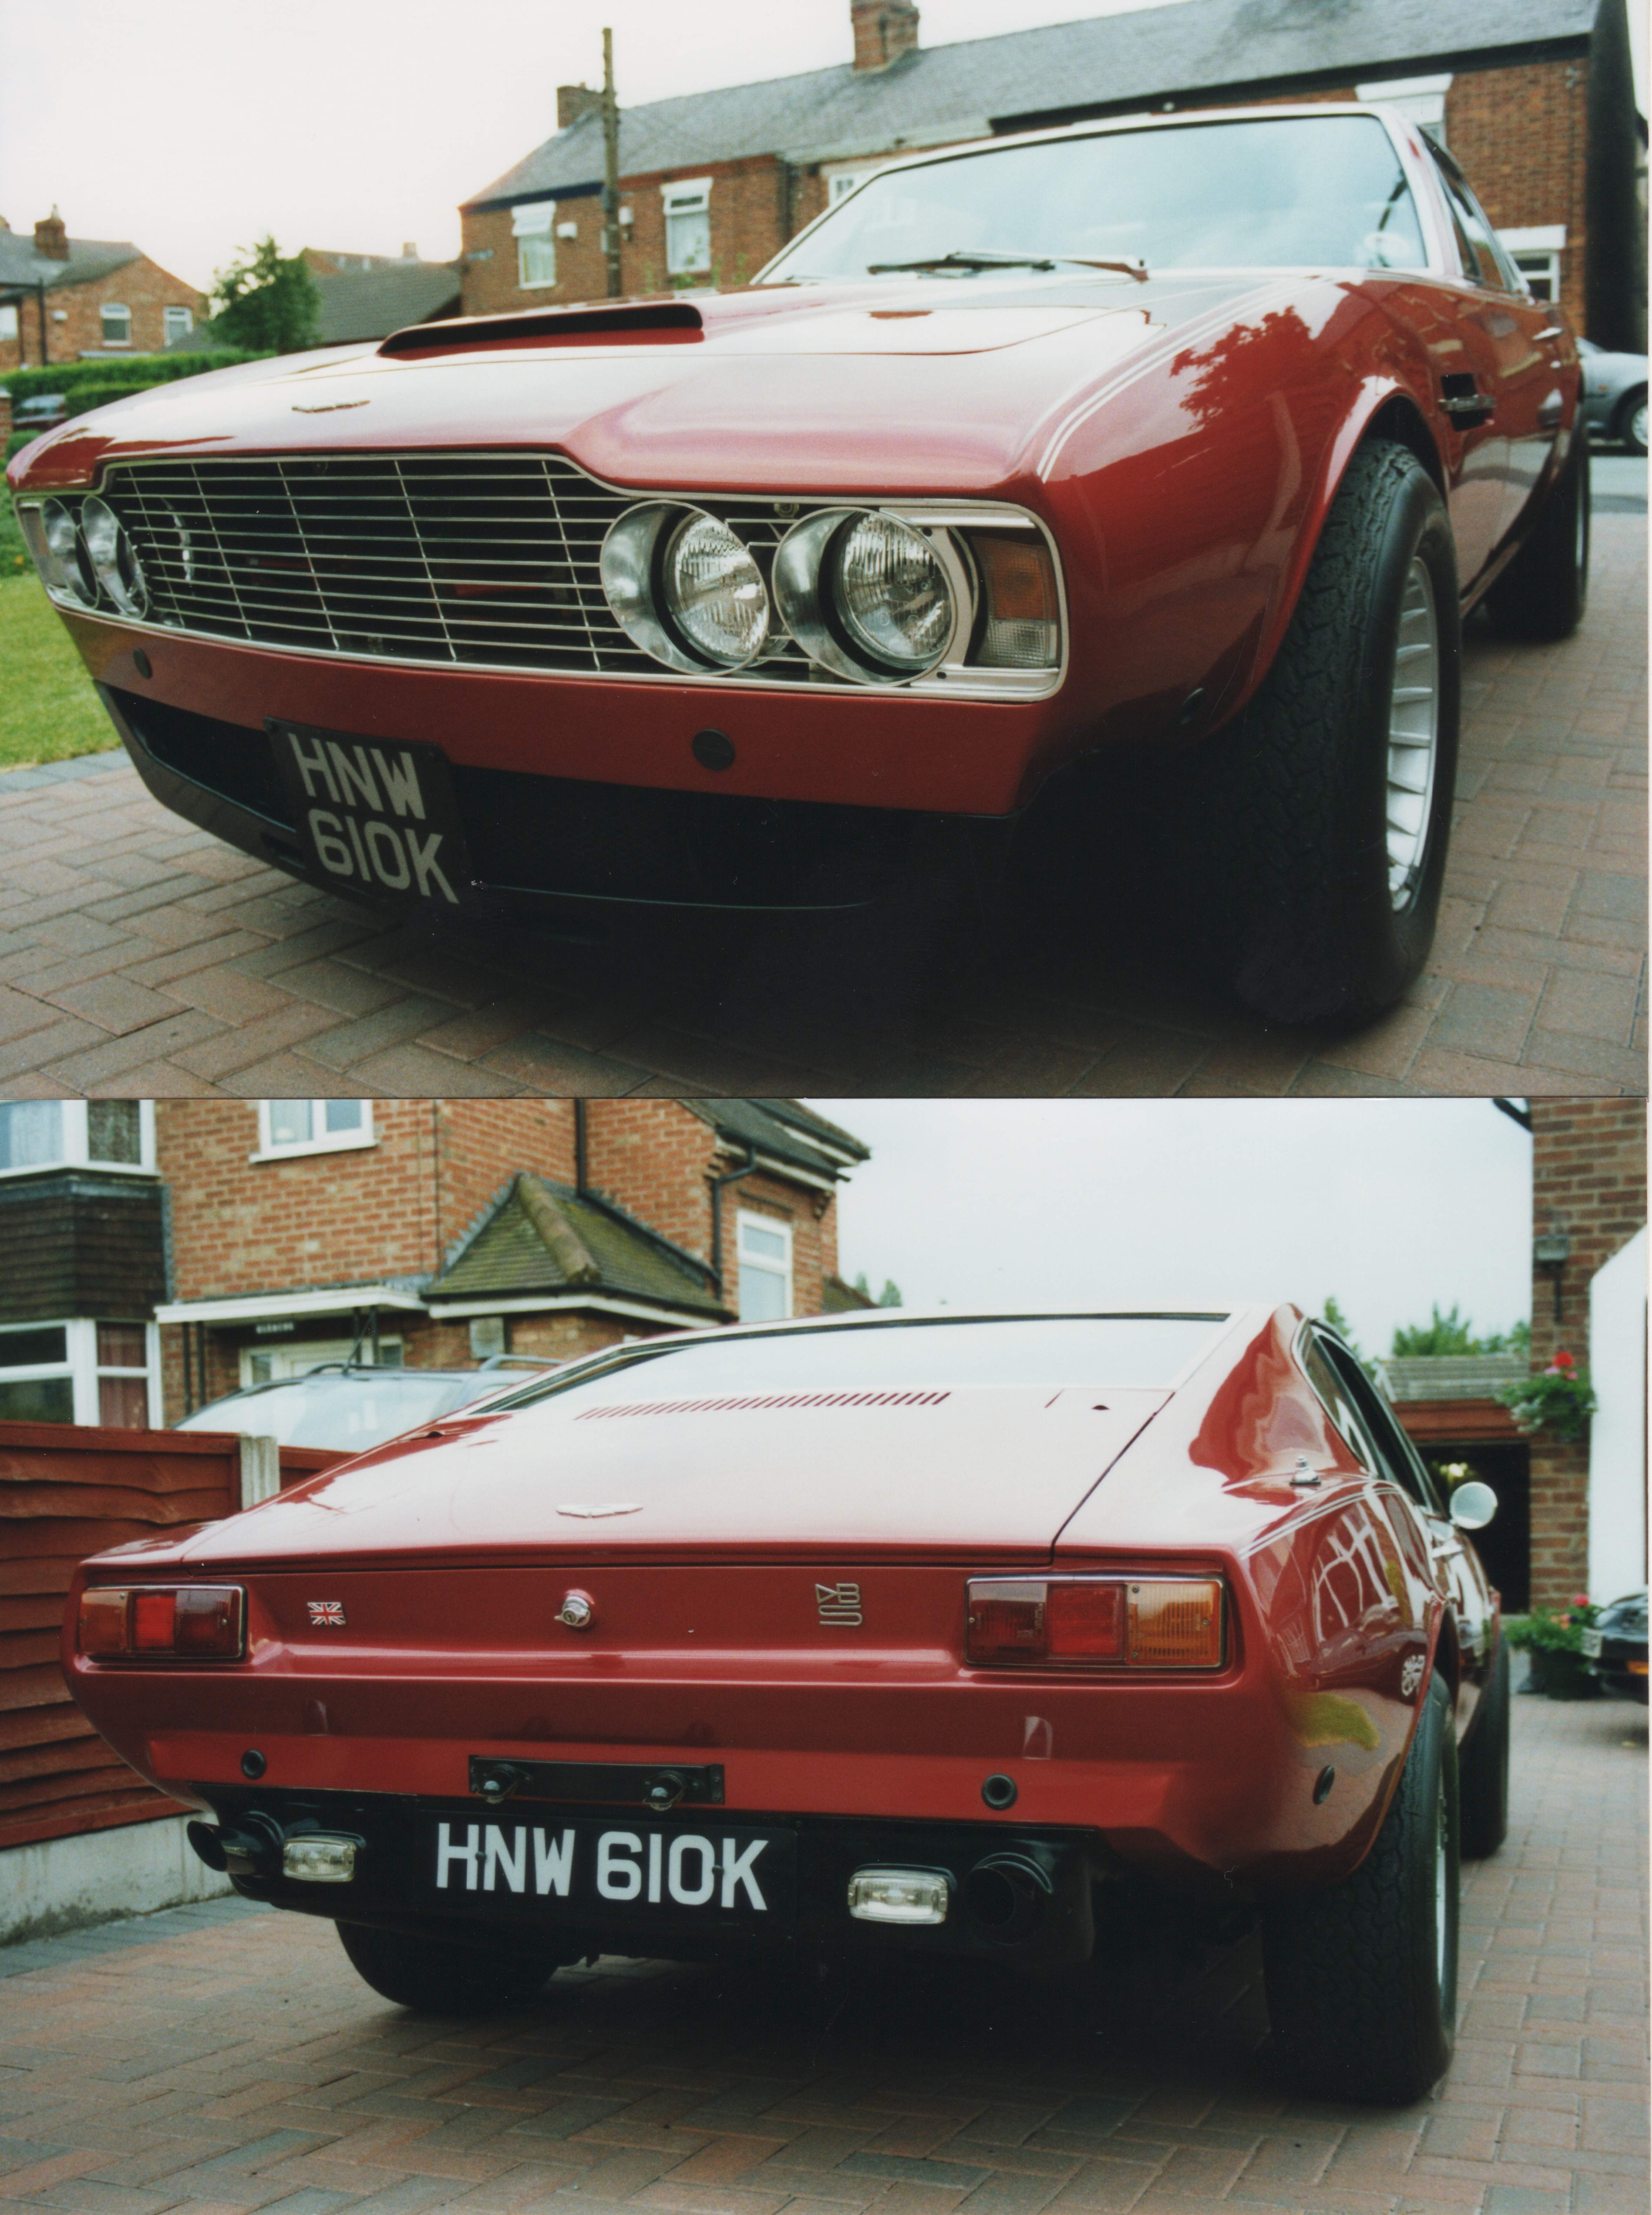
Here are some pictures before I started
As can be seen it was a bit of a Hot Rod.
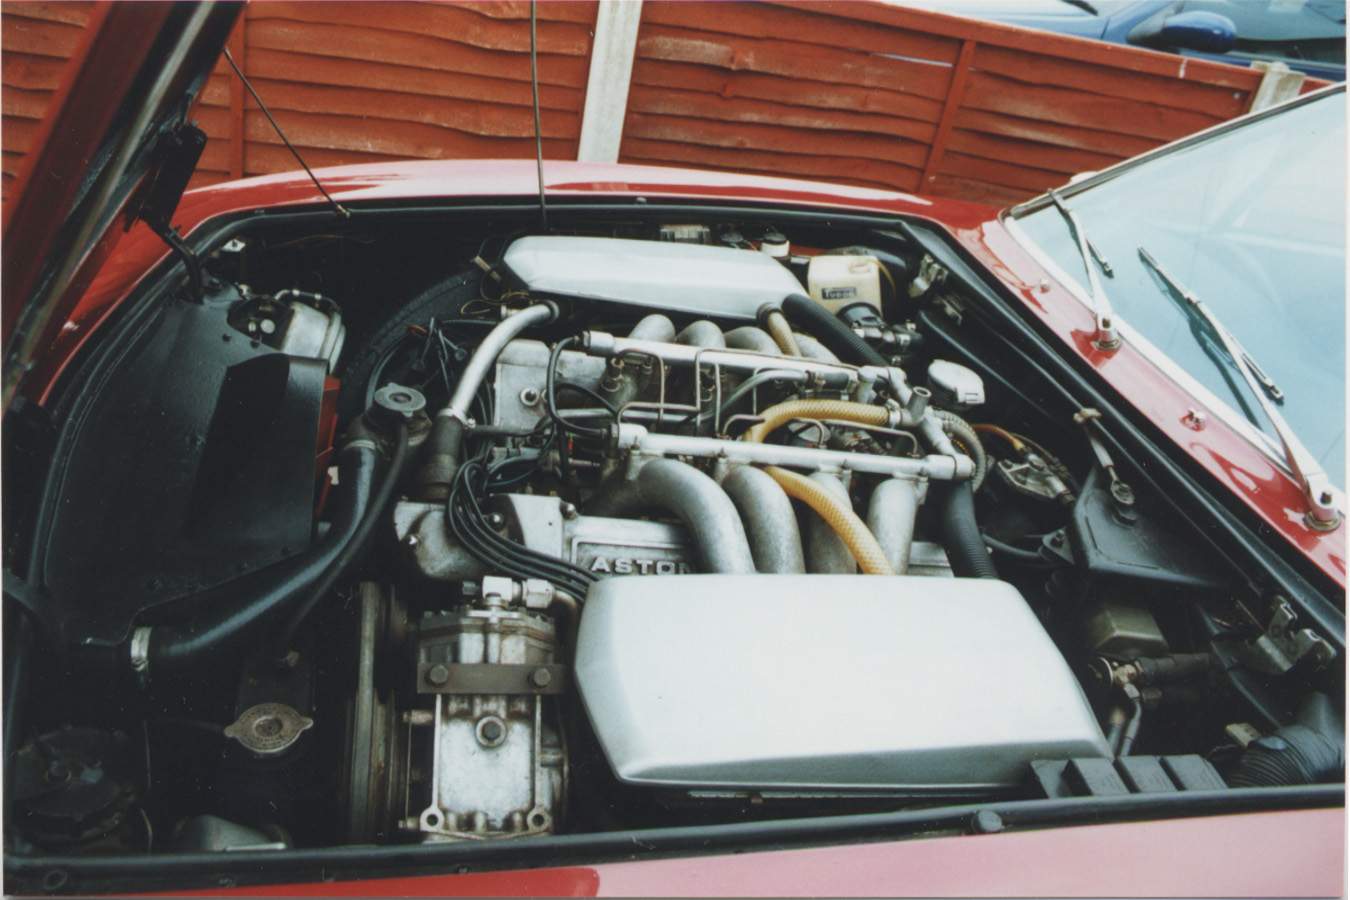
The engine bay from the nearside
The body was in excellent original condition, it ran just about ok but very rich. Nothing had been touched in the engine bay but everything worked.
The Engine bay from the off side
A couple more pictures on arrival
It Begins.
As I had spent a long time researching and looking for the right car, I wanted to have the nicest original looking DBSV8 so I decided on a sympathetic restoration using as many of the original parts as possible.
Bumpers first
I decided that the first thing to do was fit some bumpers as the originals had been stolen before I purchased the car. Luckily the original brackets were still with the car so I used them as patterns and made some replacements in Stainless steel.
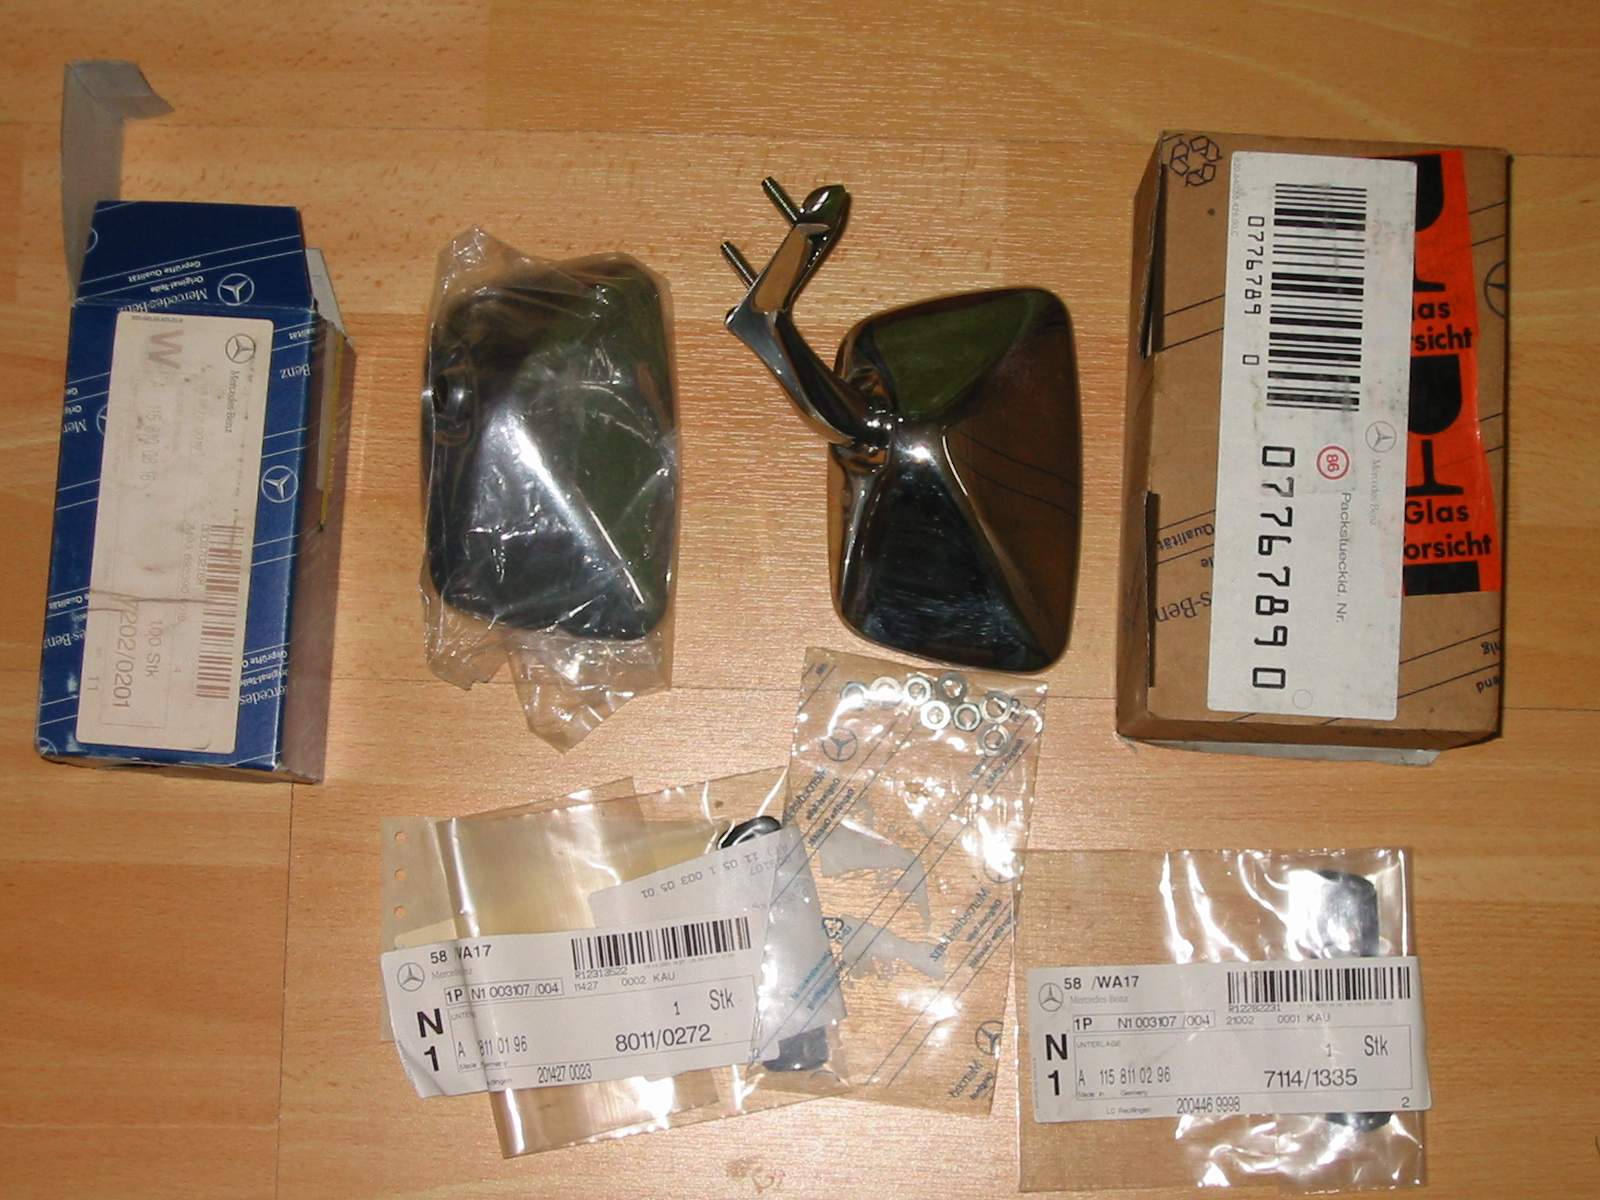
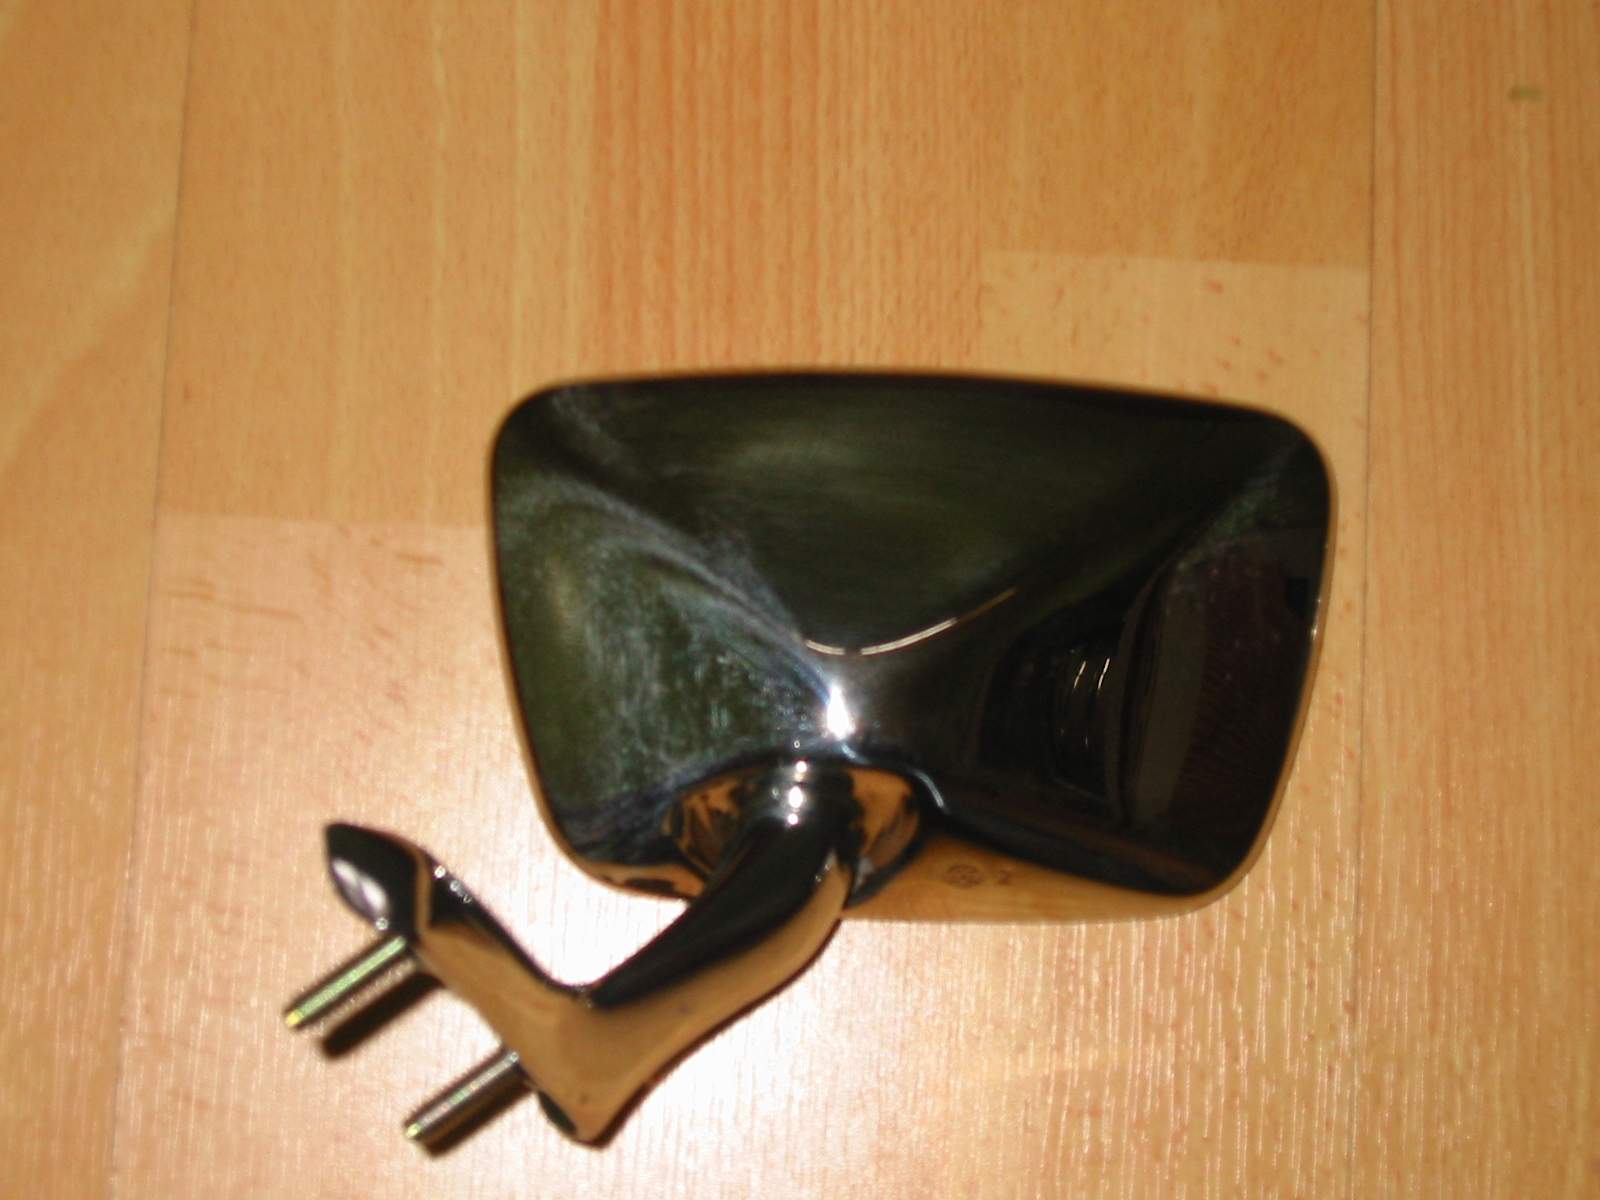
Door Mirrors
Mirrors next, after a bit of research I found that the car shared mirrors with a few different Mercedes models from the 1960's
Door Mirrors
Luckily I found a Mercedes parts man on line in Germany who could source OEM ones for a third of the price of the UK
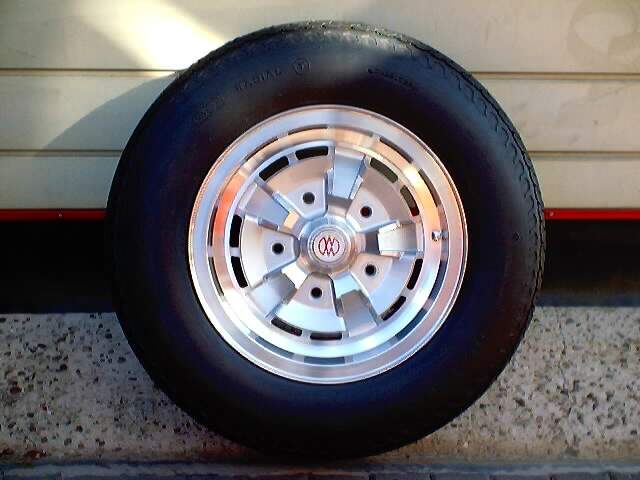
Wheels and Tyres.
When I purchased the car I was told the original wheels were with the car.I did not see these on the 2 visits I had before I eventually got the car it wasn't until I picked it up that I was shown some very scruffy but original wheels stored in plastic bags.
Wheel restoration
I stripped the wheels by hand and then found a company that could re-machine the rims. So first I got them powder coated the original silver then they were lightly diamond turned to bring the surface back. I then took them home and hand polished all five wheels going from 400 grit to 2000/8000 grit before autosol to get a mirror finish on the alloy. (tip: don't do all five at once take a break as it less painful on the fingers)
I then had to source some tyres, this is quite difficult as there are only a couple of manufacturers who still do this size of tyre* so I opted for the Avon tyres as recommended. Unfortunately the original wheels don't have a machined centre so they have to be balanced with a machine that picks up off the studs. Luckily I have now located a local independent tyre fitter that does this quite reasonably. *GR70V or 225-70/15VR
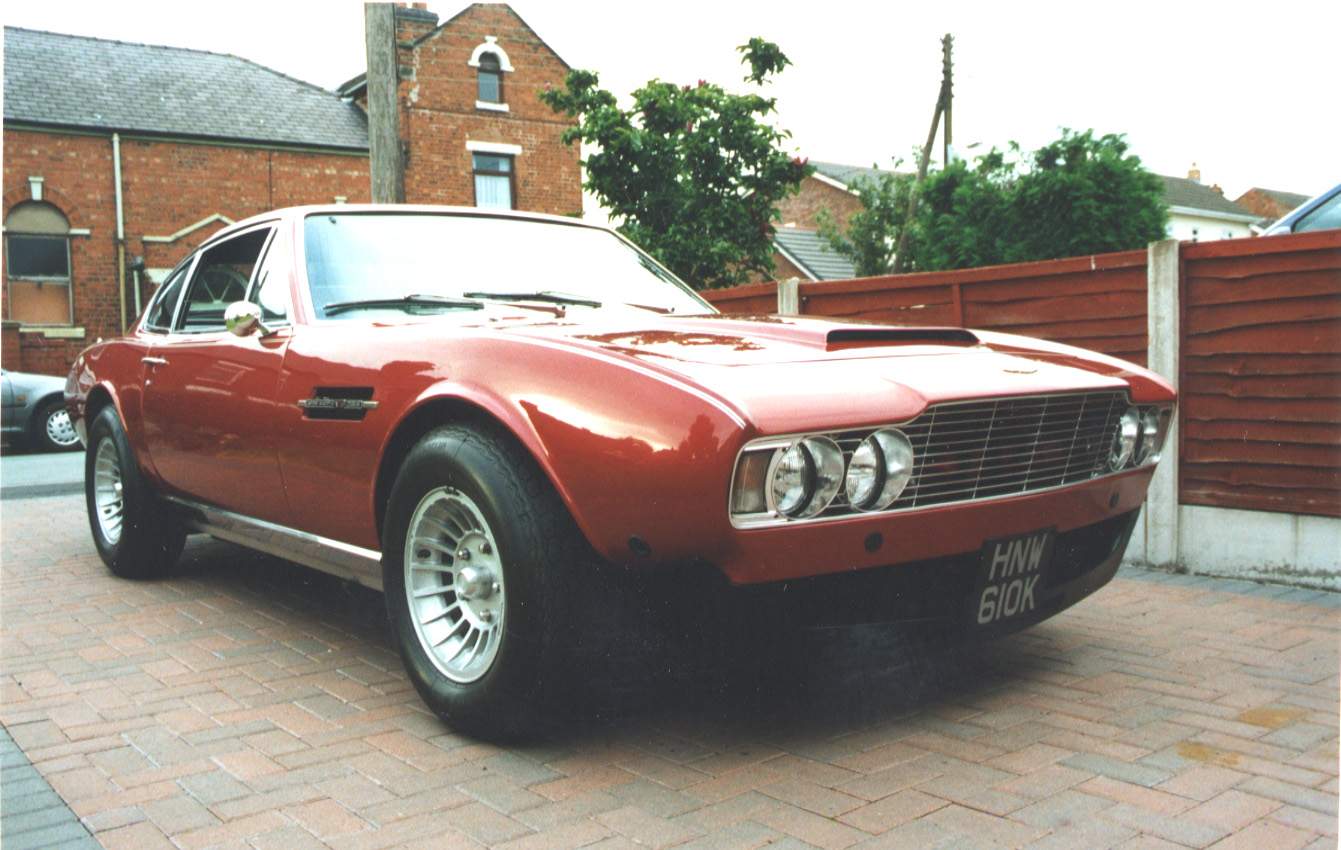
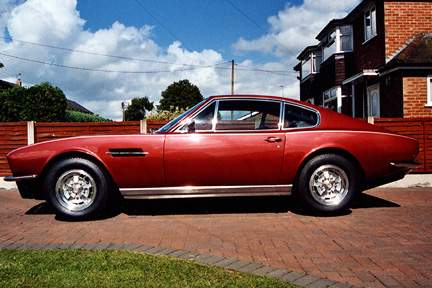
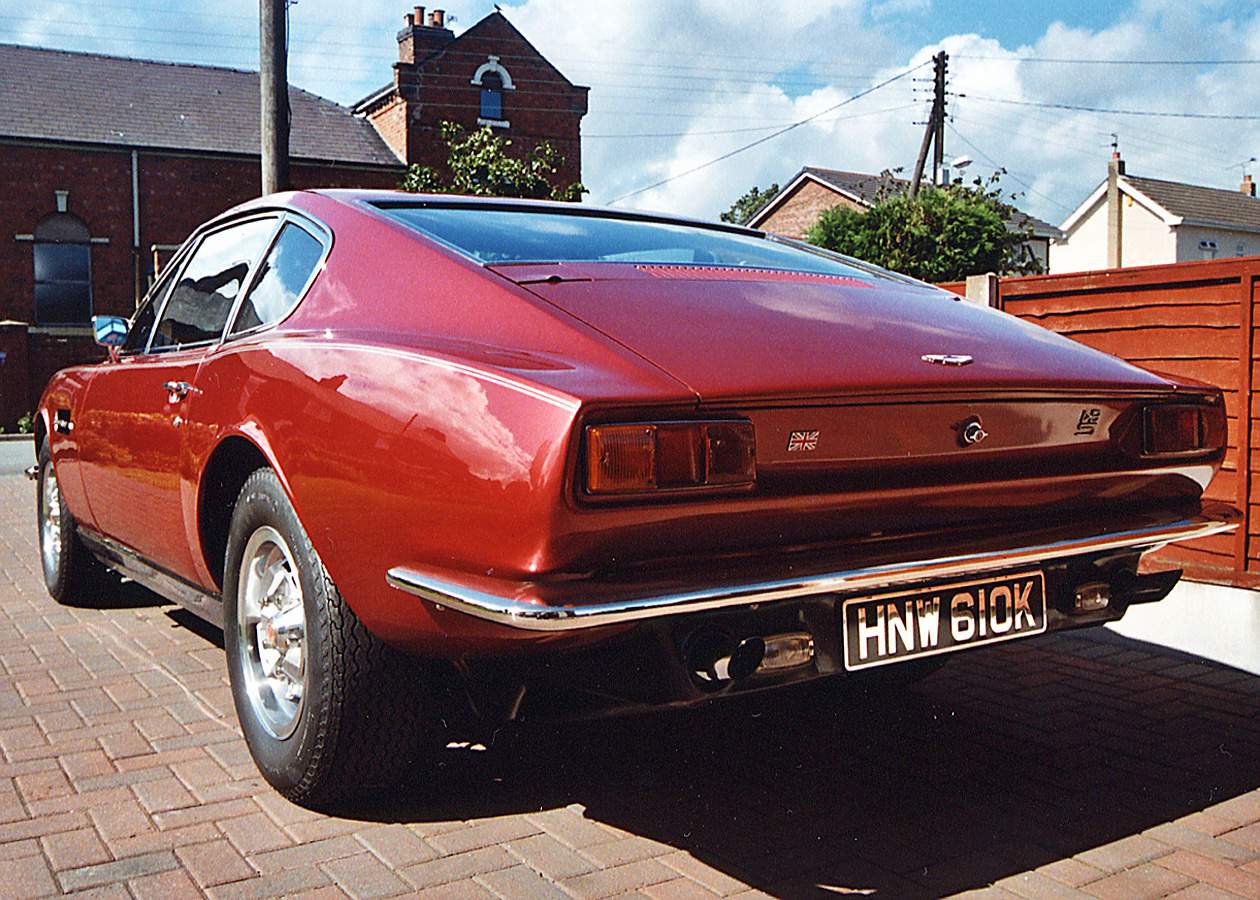
Looking more like an Aston
So after wrestling with a new set of bumpers, mirrors, number plates and a good polish and wax the car was looking more like it should do.Time to sort out the rich running.
Valve clearences
So it says the first thing to do before anything else is to check the valve clearences. Easier said than done as most of the engine has to be removed first
A Bank
We are very luck today as we have digital cameras so all parts removed has a photo and I kept a book with all values and everything was tagged and bagged.
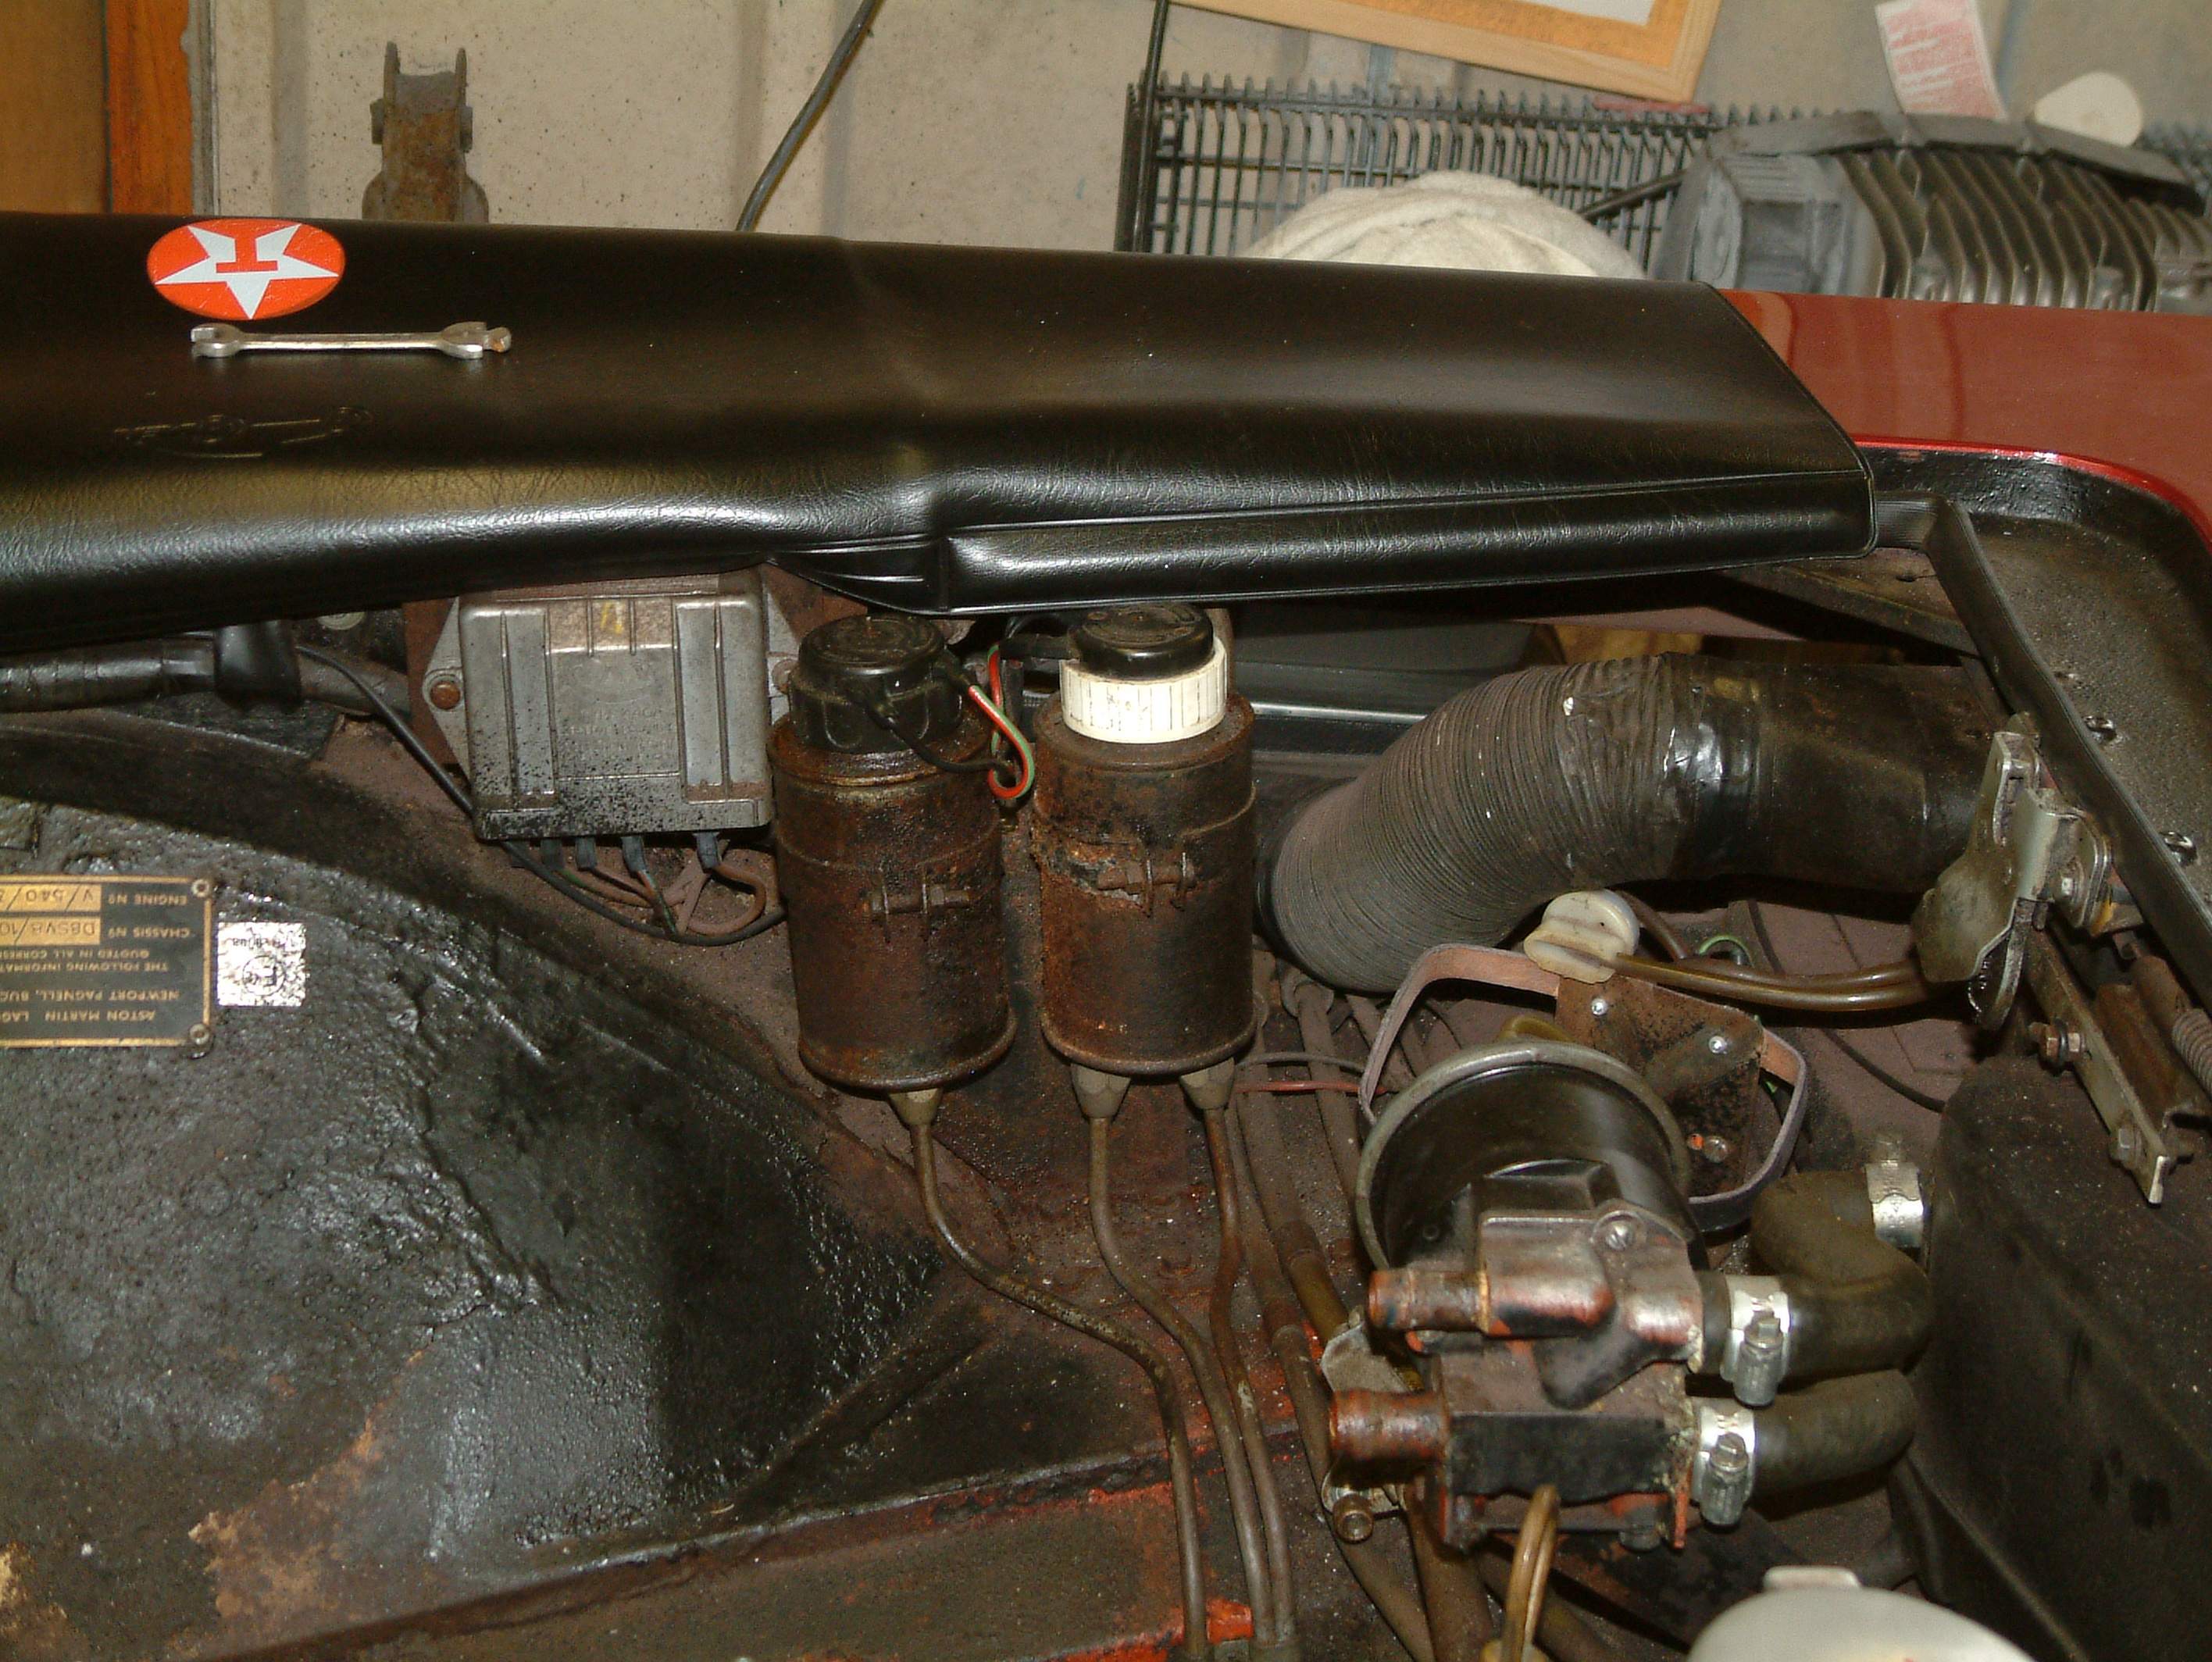
Engine bay
After removal of most of the top of the engine it was quite easy to see the condition of the engine bay so I thought I can't just get the engine running right I had to tidy this first.
A start.
Here are just a very small selection taken during the engine bay tidy up. Apart from perished pipes and damaged clips most parts were refurbished and put back to keep it original. I do break some rules as I am addicted to stainless fasteners and fittings, so where possible these are used to prolong the life of the car. I also powder coat where possible for the same reason.
Before
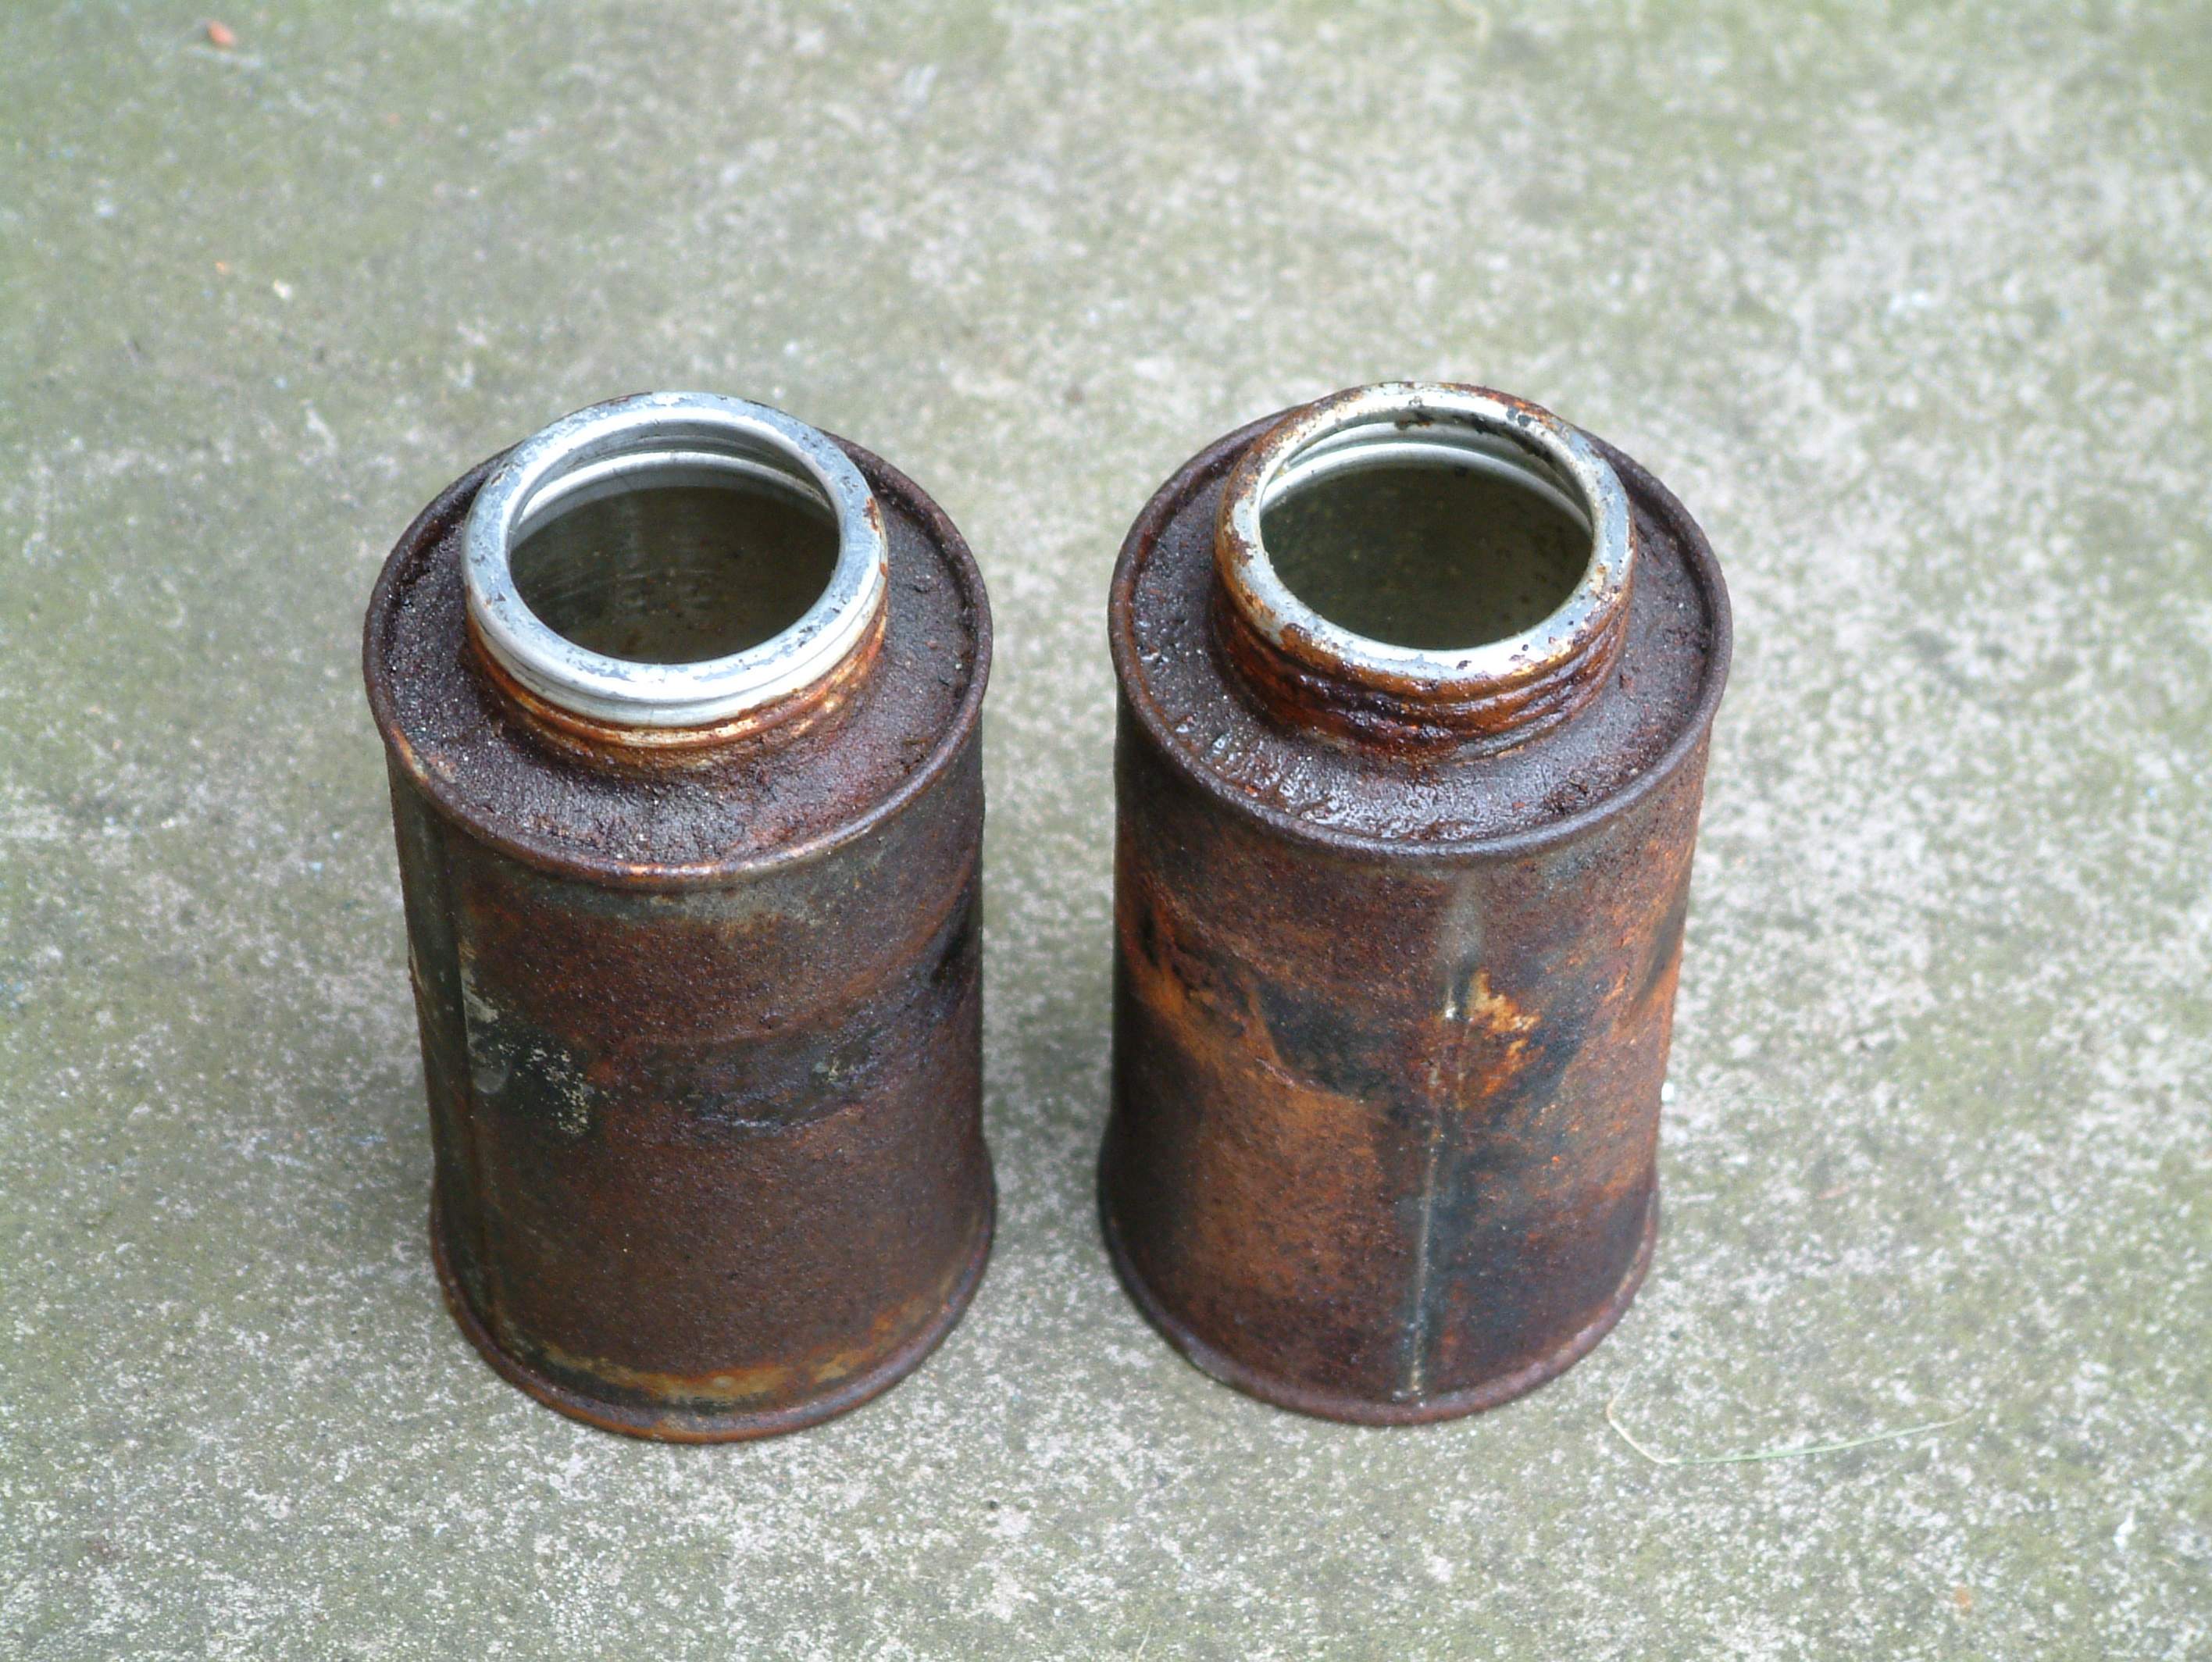
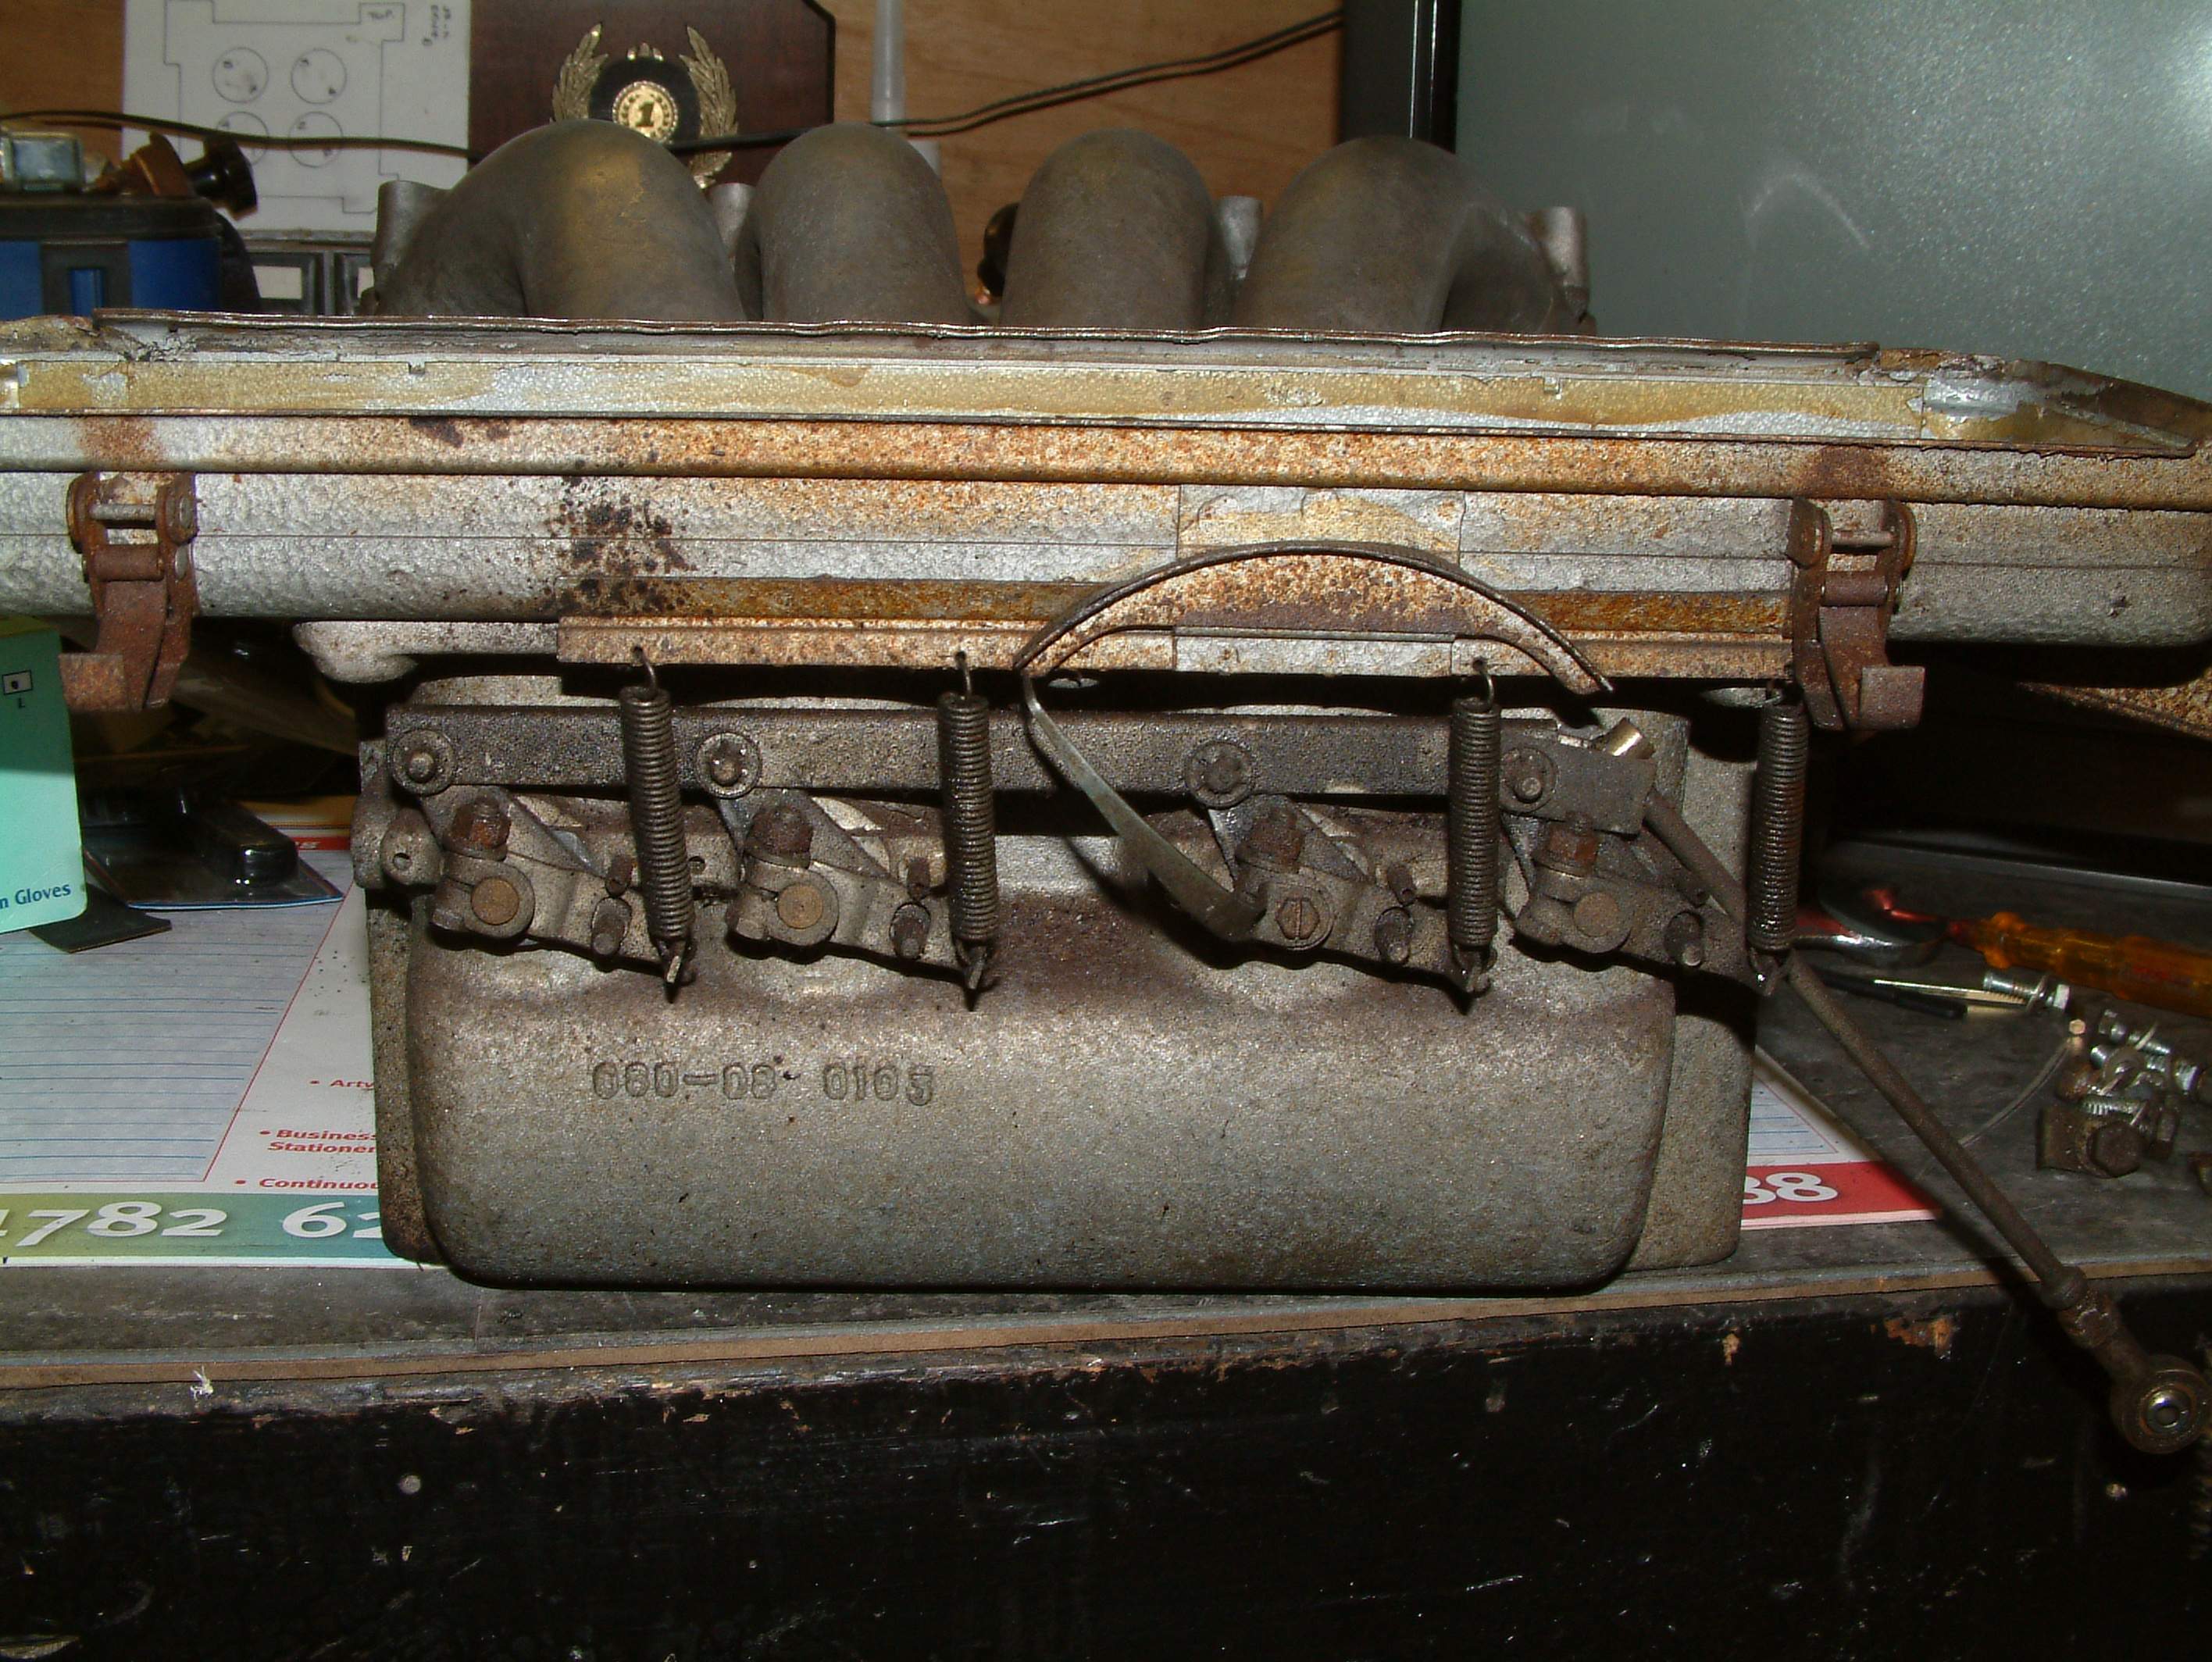
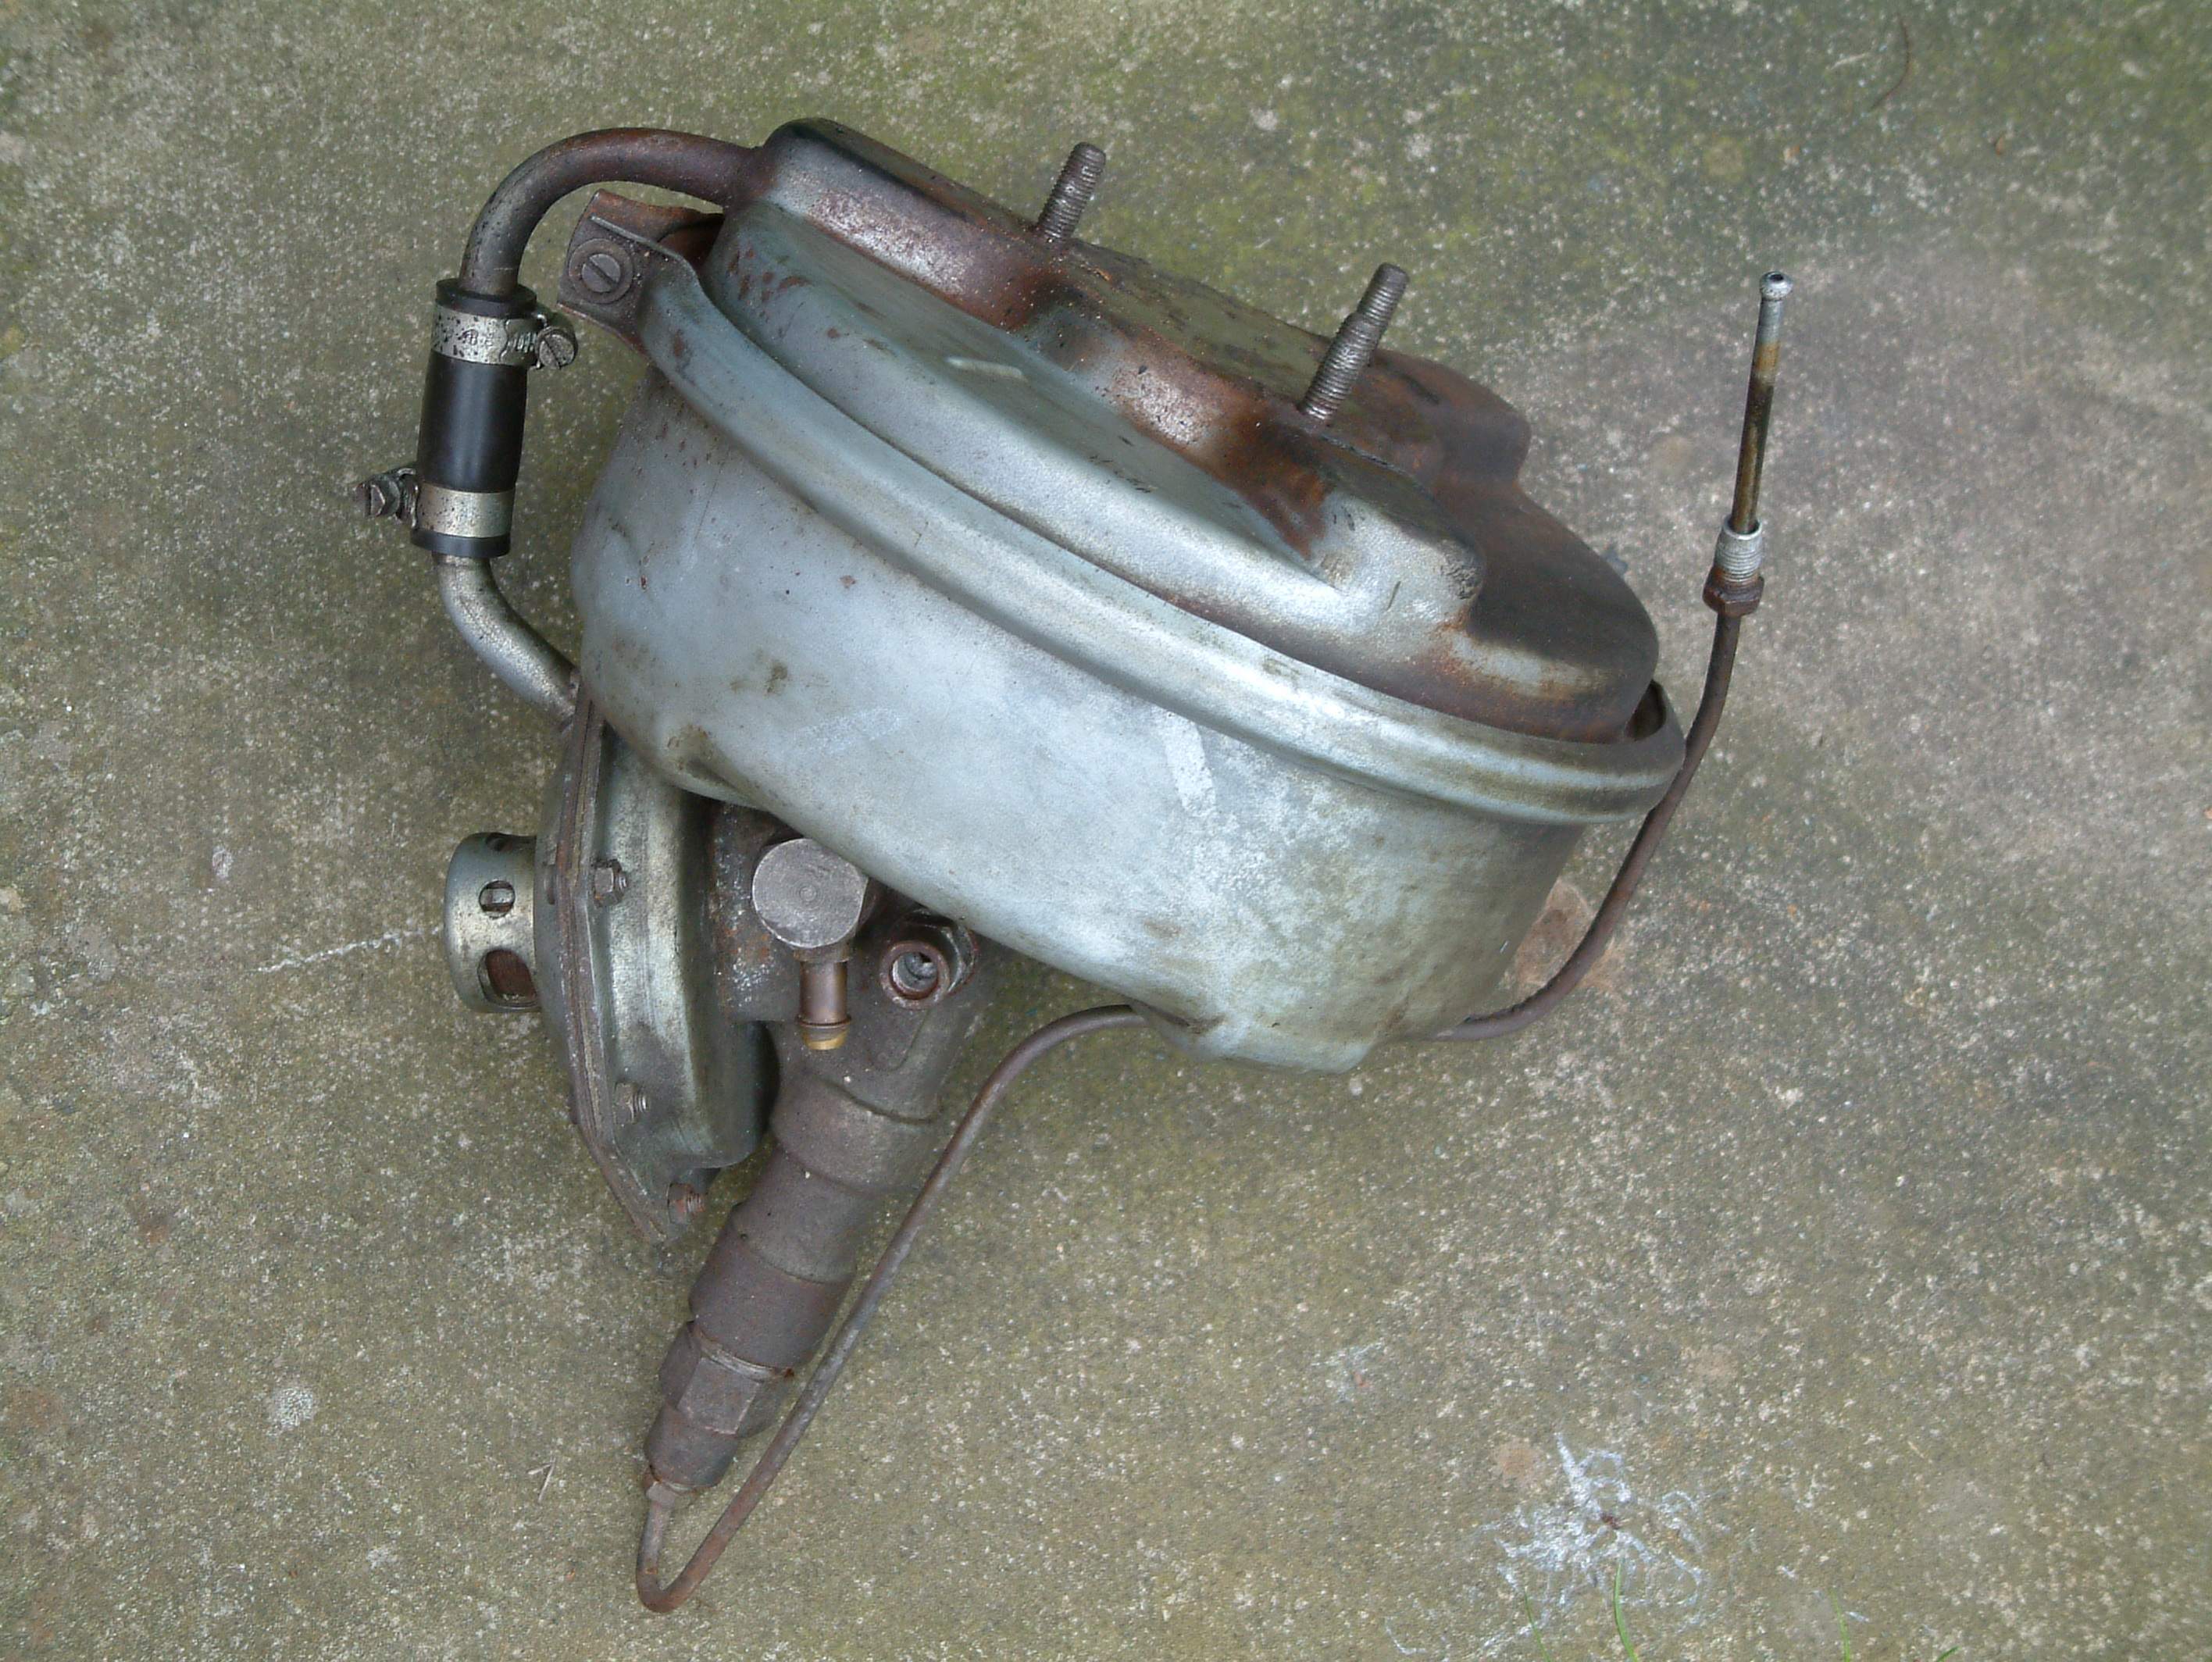
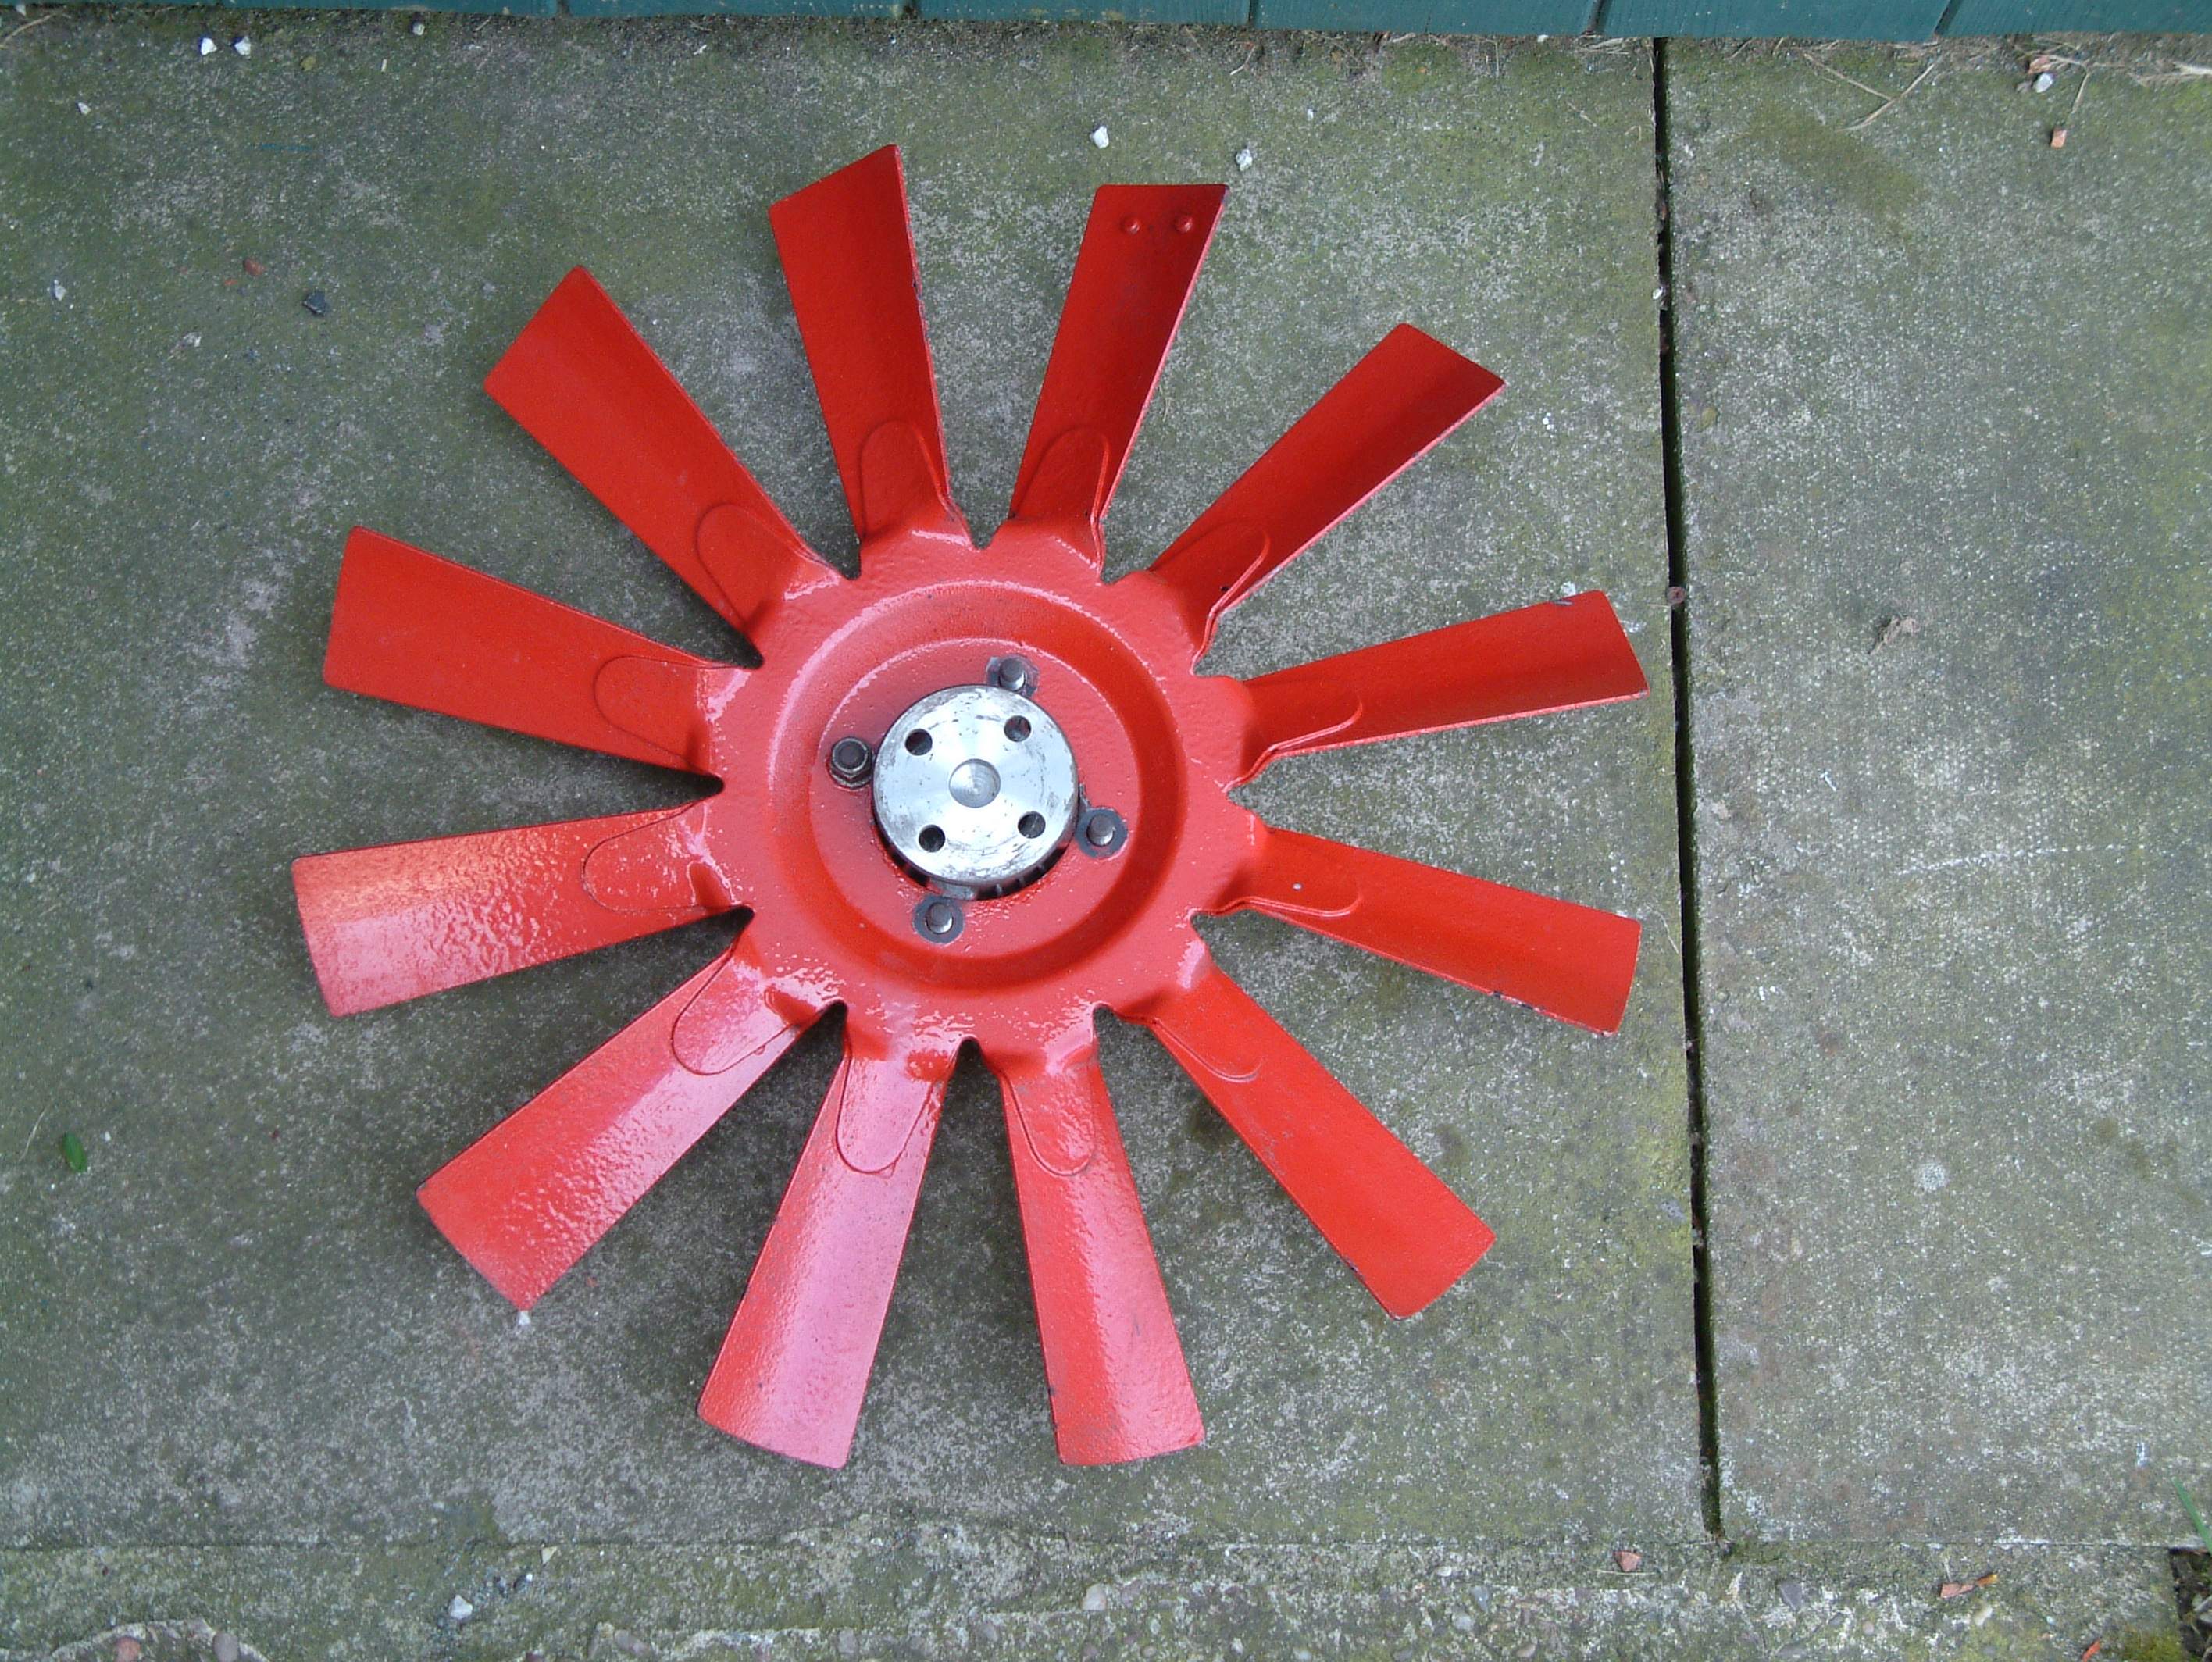
Cooling fan, Brake fluid pots and Inlet linkages
Before
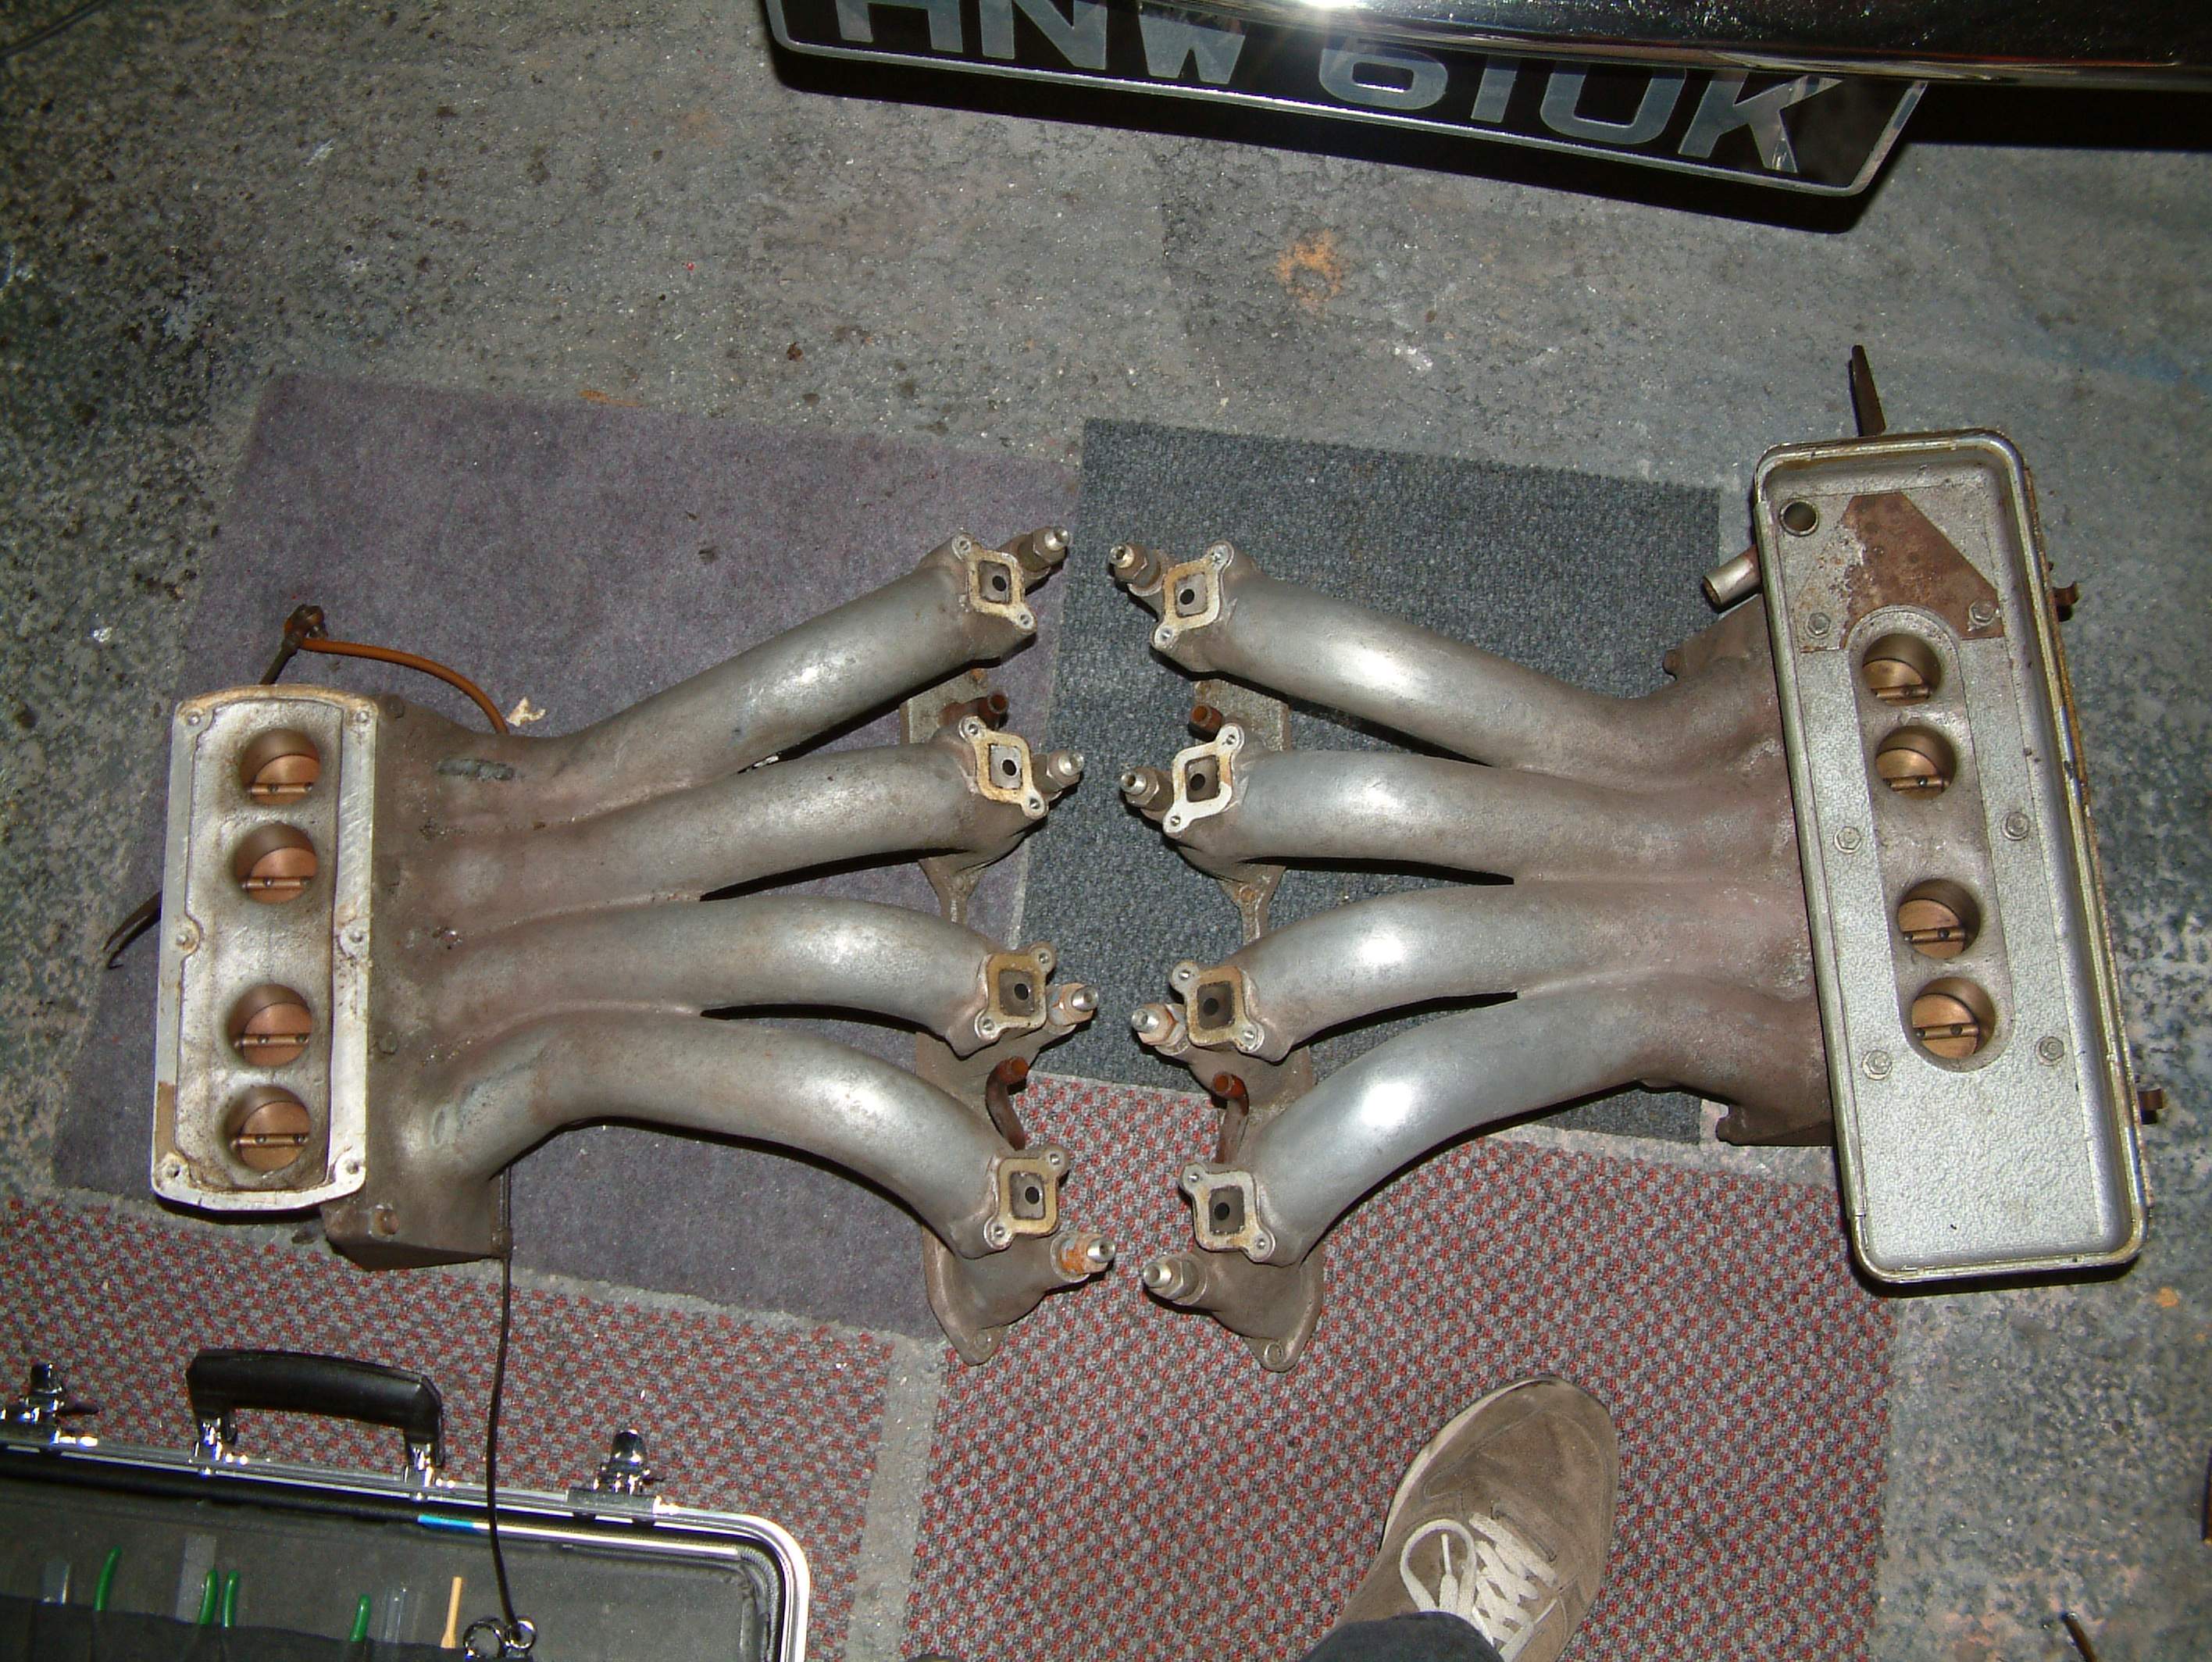
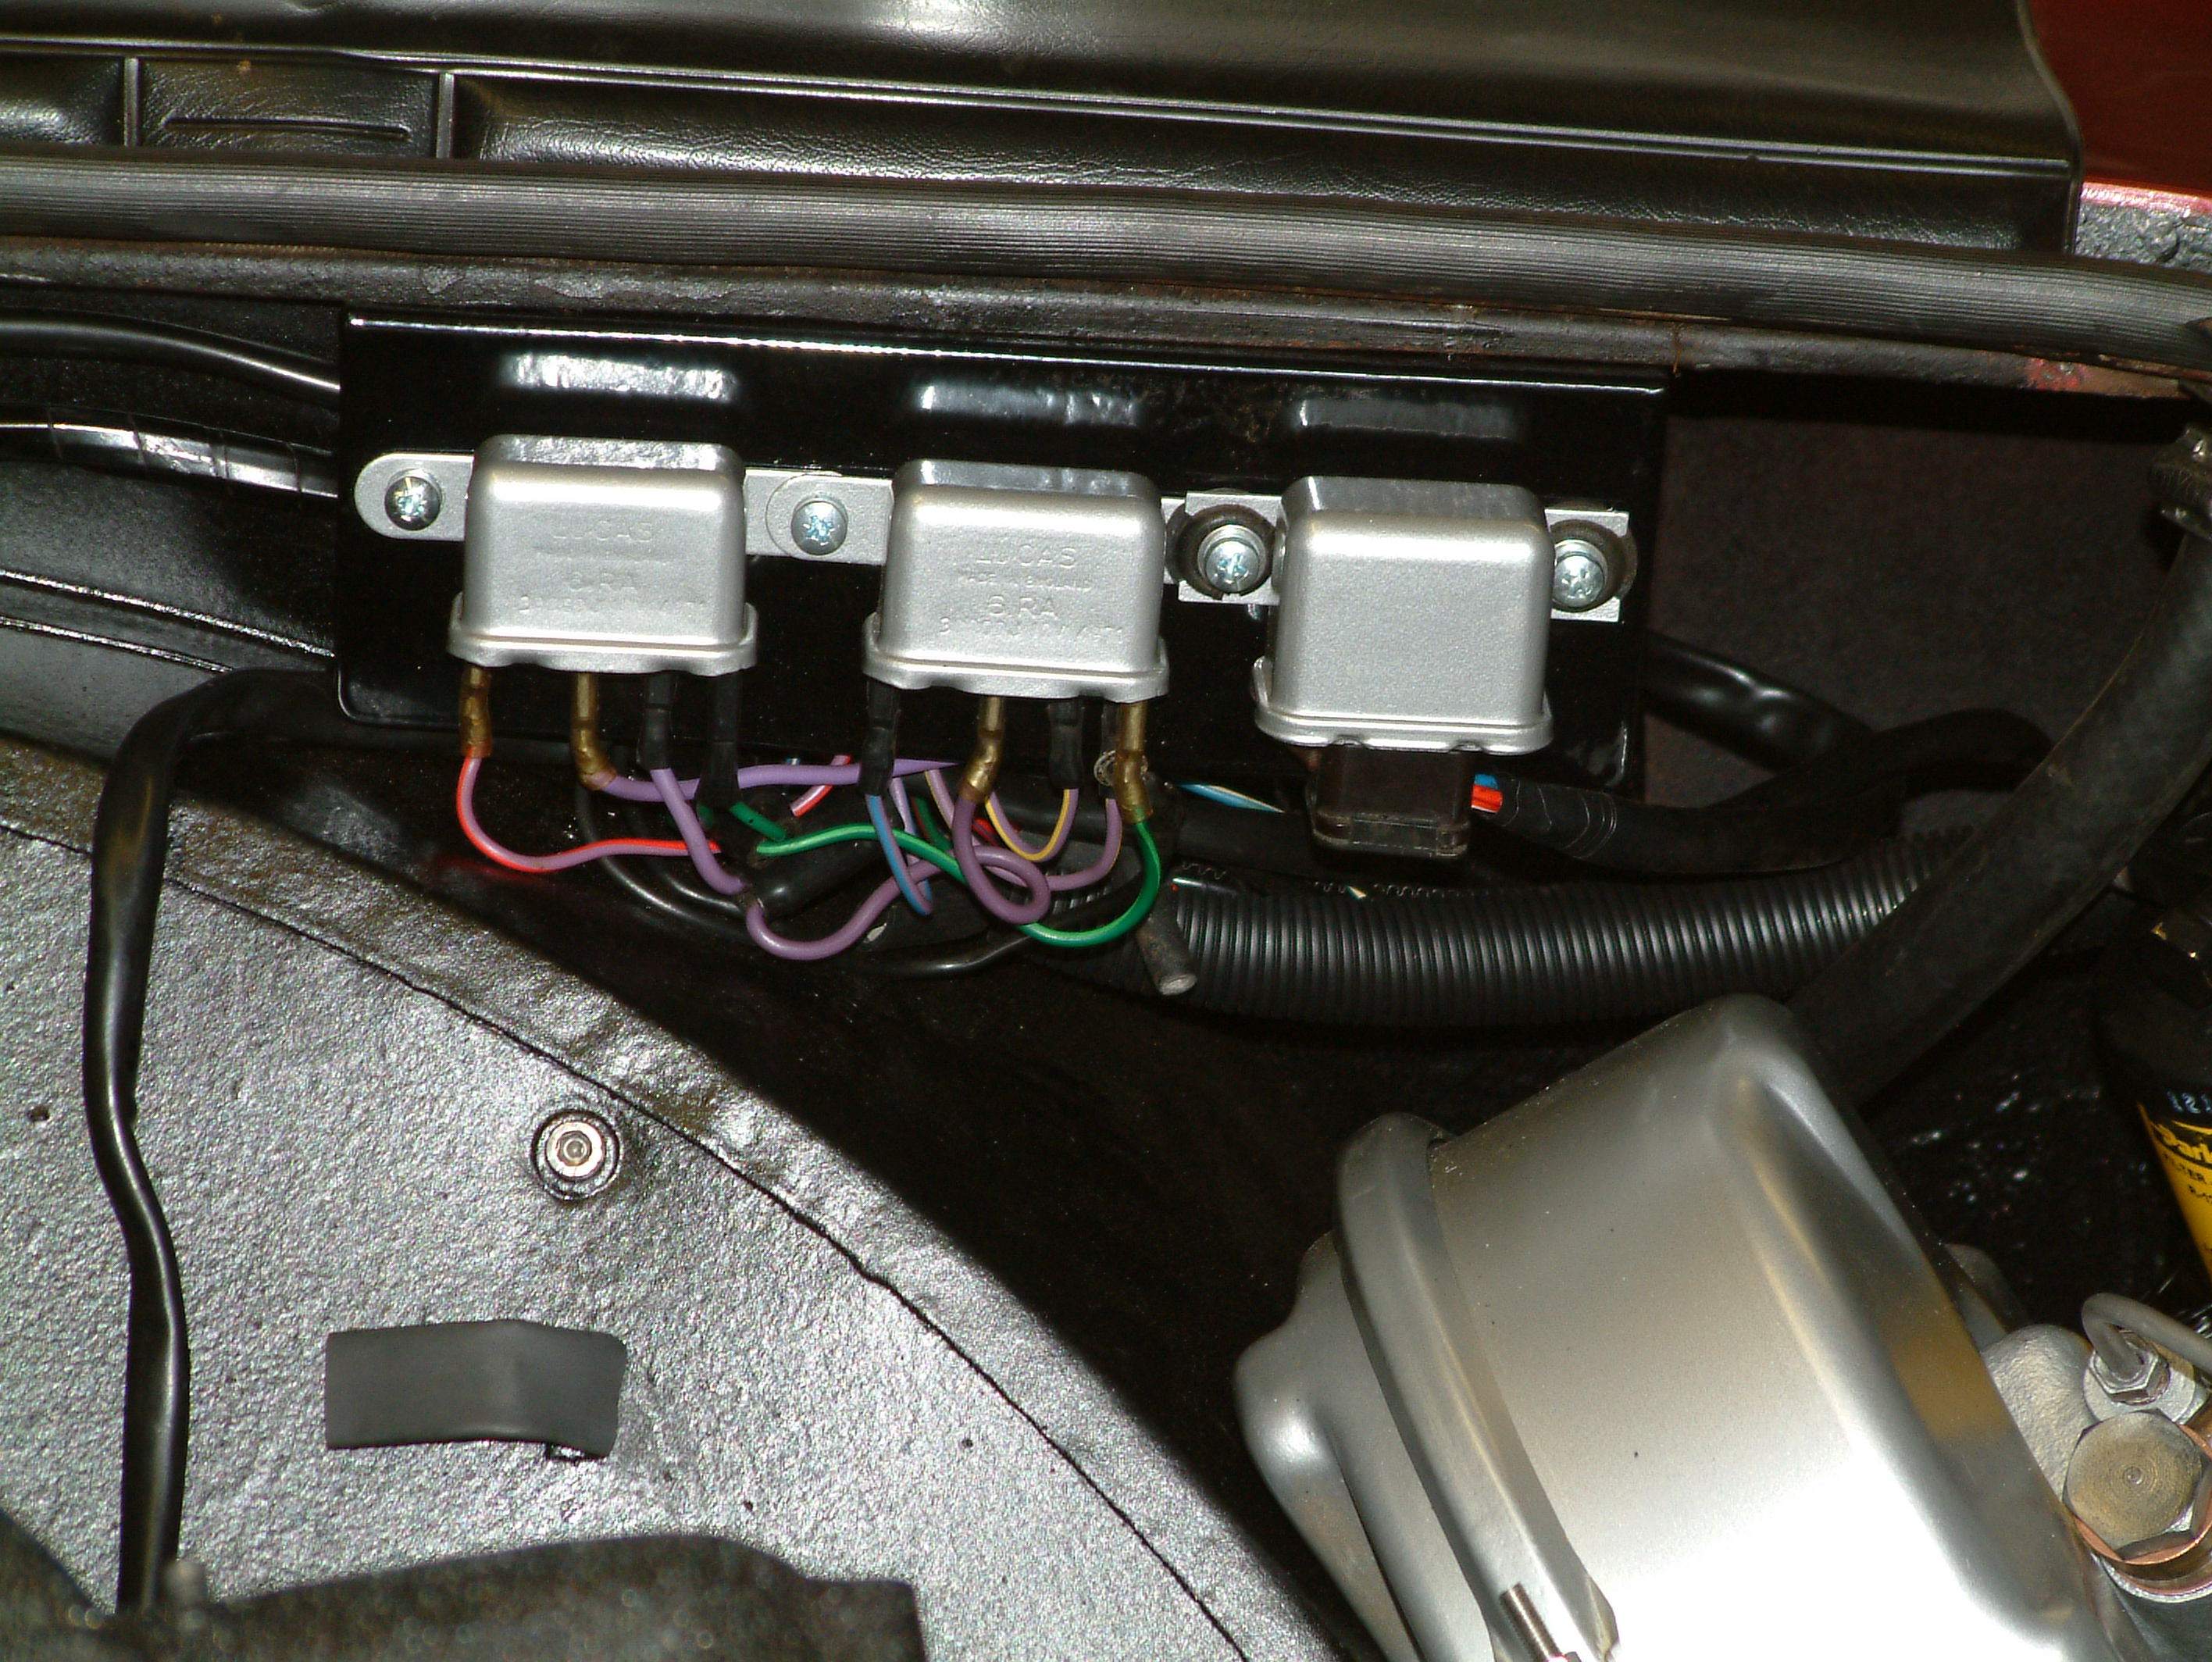
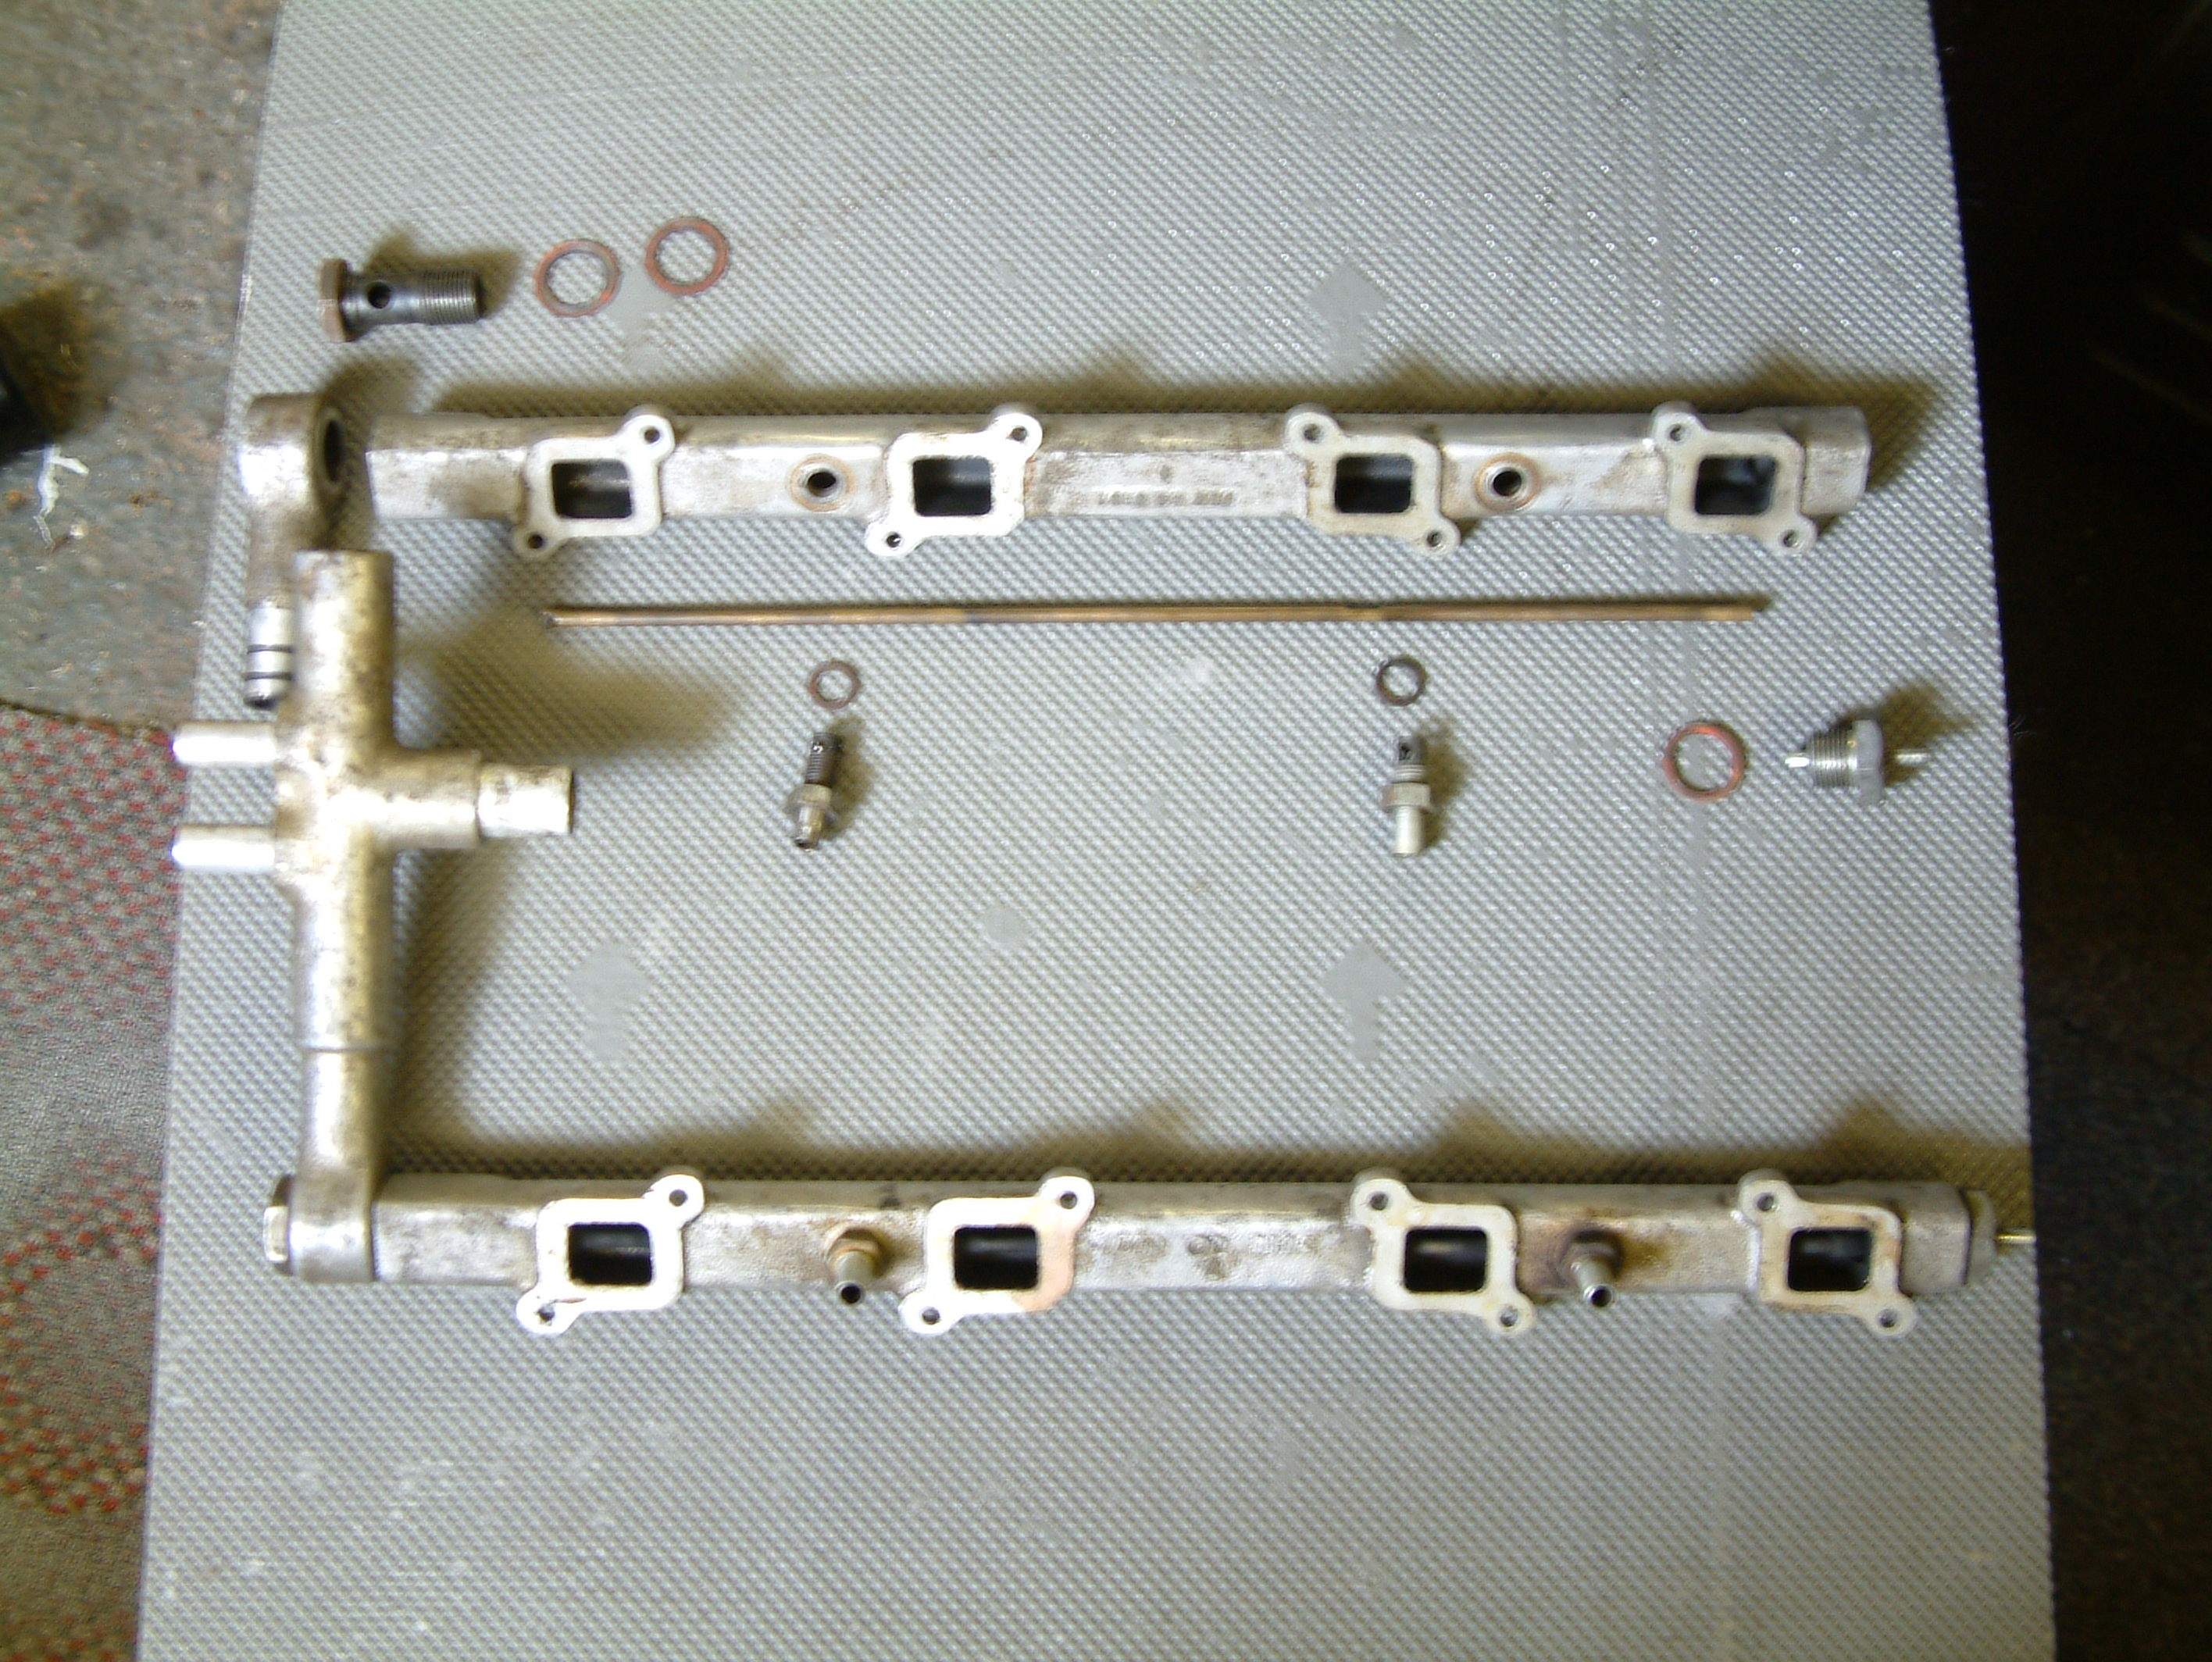
Relays, Brake servo and Inlet manifolds
and After
Cooling fan, Relays and engine bay on its way to refurb
and After
Some of the parts coming together, Servos rebuilt, they were Zinc plated, new seals etc fitted and then protected with high temperature paint and new copper brake lines made and fitted.
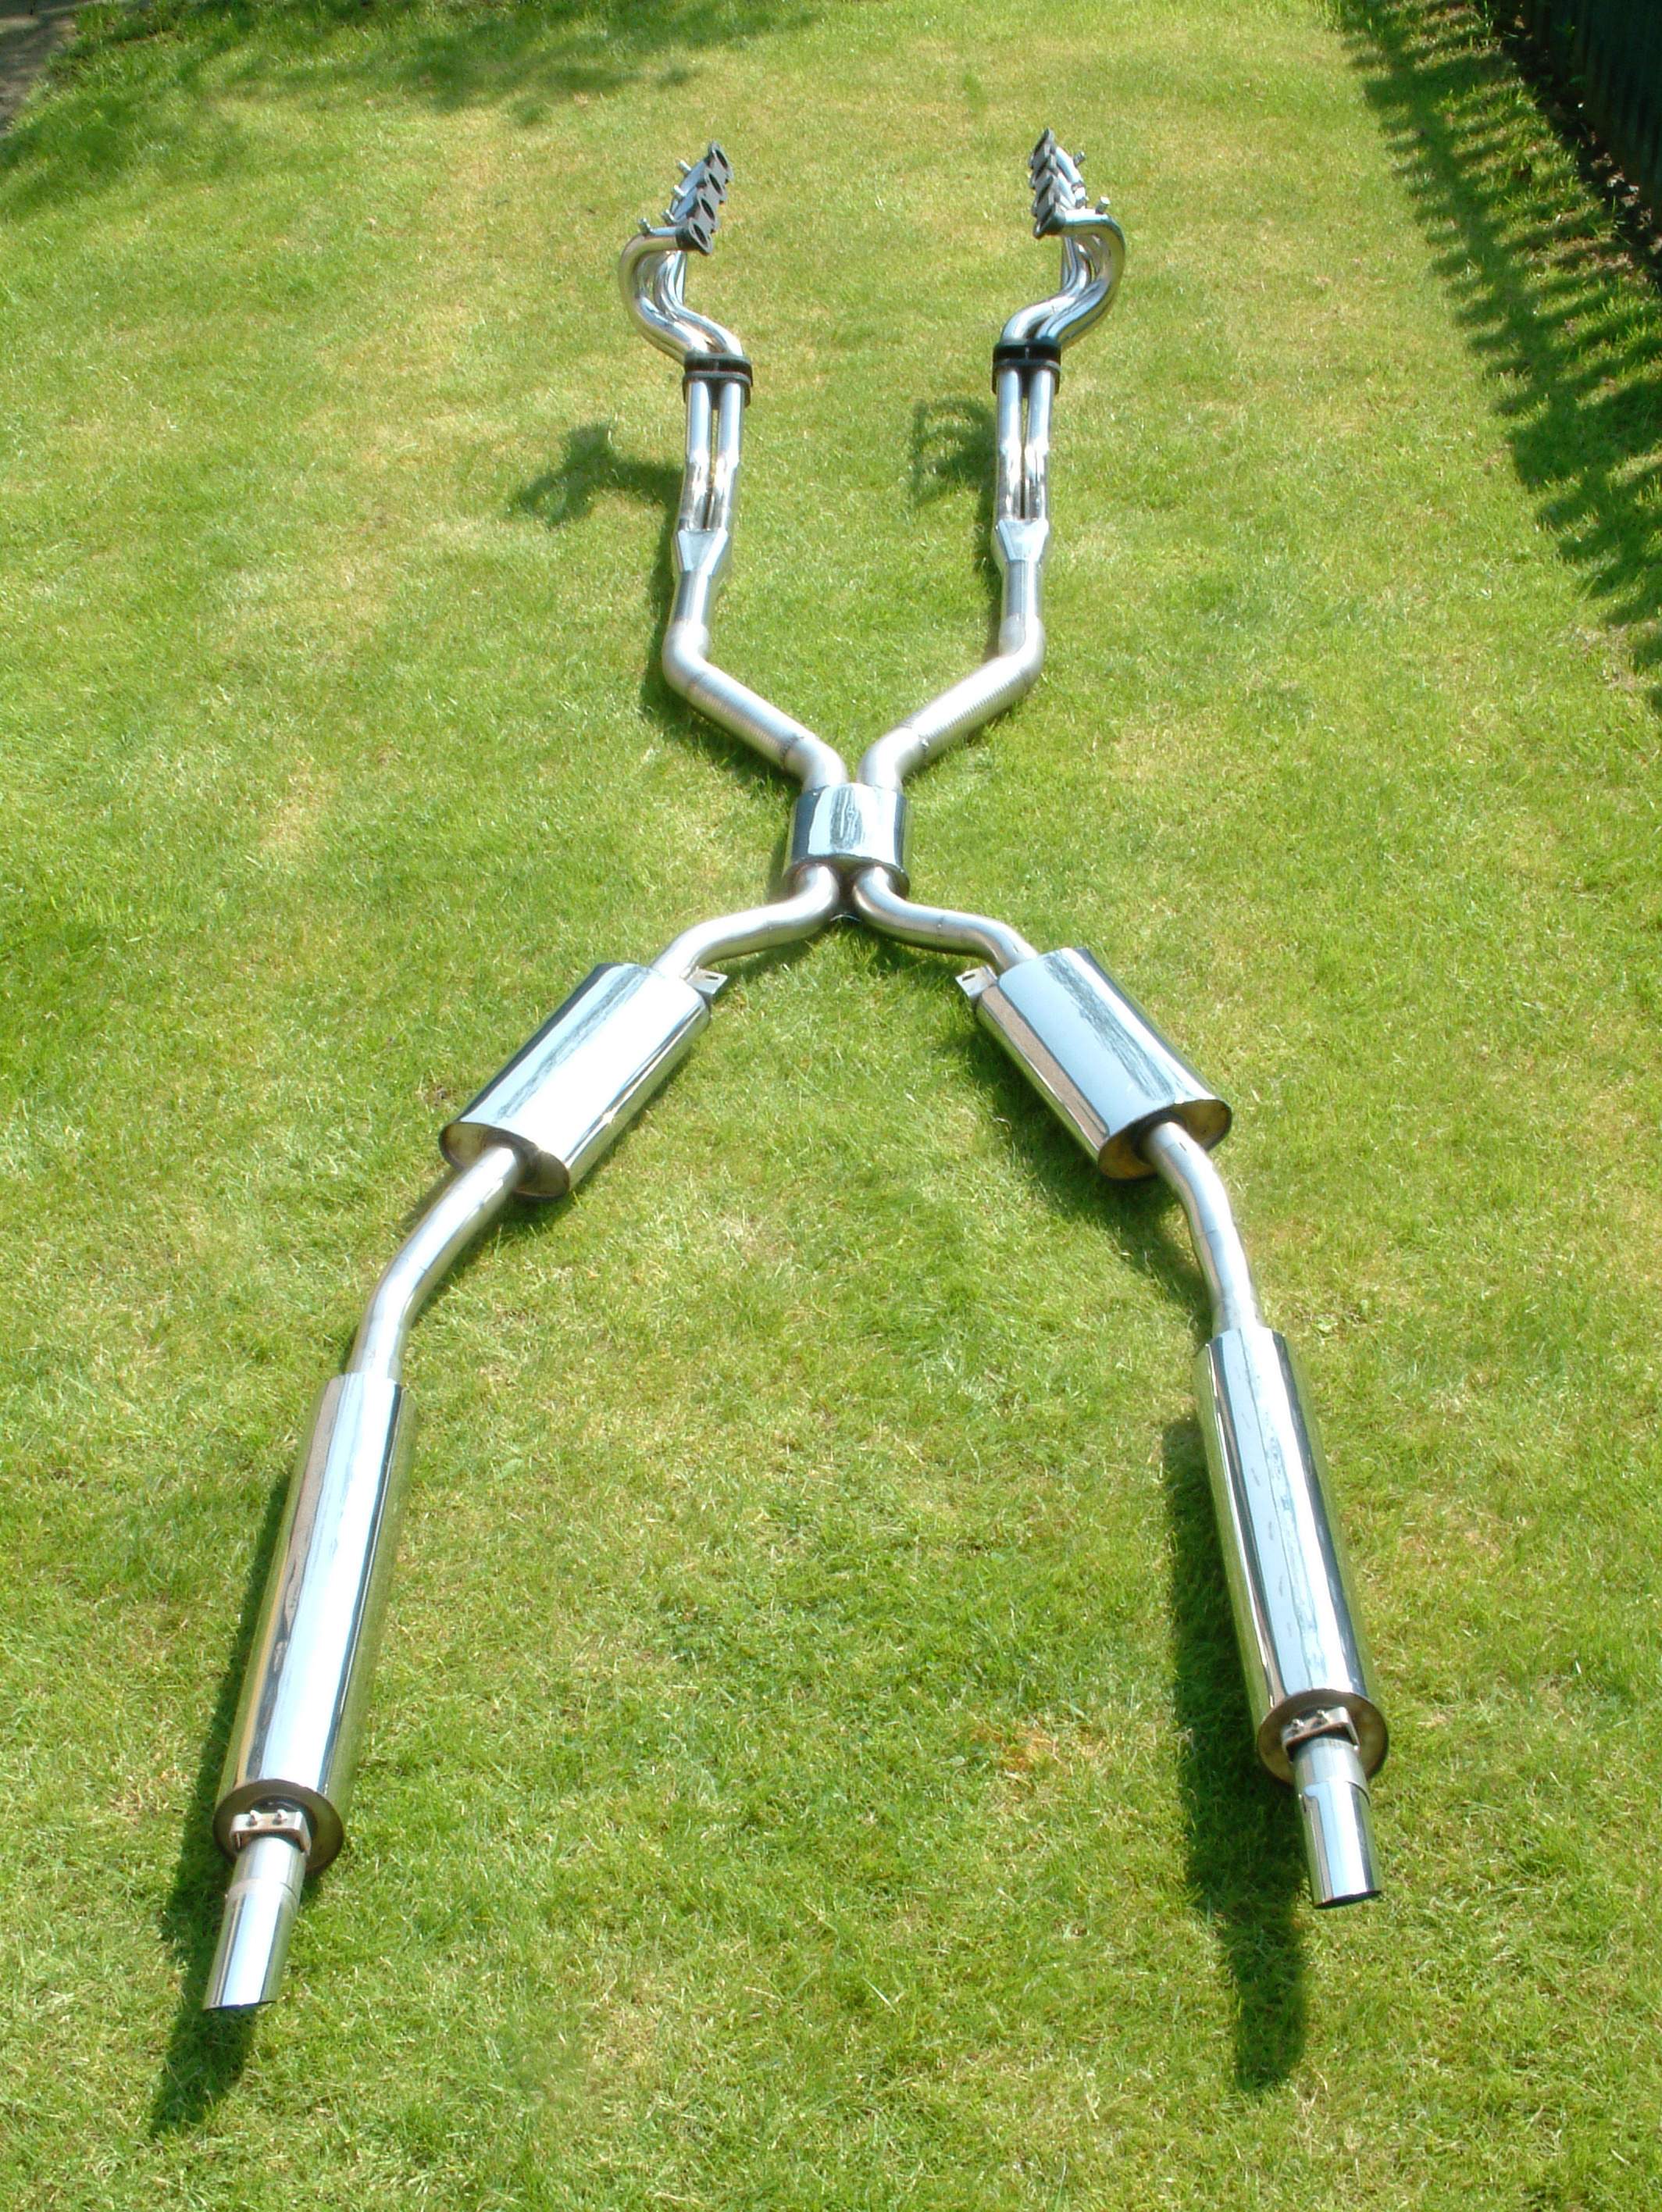
Exhaust
While doing the engine bay I noticed the exhaust wasn’t looking it’s best as it was still the original, as I mentioned before only stainless will do, luckily we have a specialist close by who supply the later bigger bore Vantage systems including manifolds.
Engine Bay finished
Engine bay now tidy, sounds easy but it took over 6 months to get it like this and using Andy Chapmans fuel injection guide the car now ran a lot better too.